Universal bathroom exhaust fans are manageable if your ceiling’s compatible and you’ve got straight ductwork ahead. Most DIYers finish in three to four hours—much cheaper than hiring someone. But here’s the catch: outdated wiring, tricky attic access, or long, winding ducts can complicate things quickly. The real challenge isn’t the fan itself; it’s what’s hiding above your ceiling. Want to know which obstacles might derail your project and how to spot them before you start?
Three Setup Factors That Make It Easier: or Harder
What actually separates a straightforward bathroom exhaust fan install from one that’ll have you calling a professional?
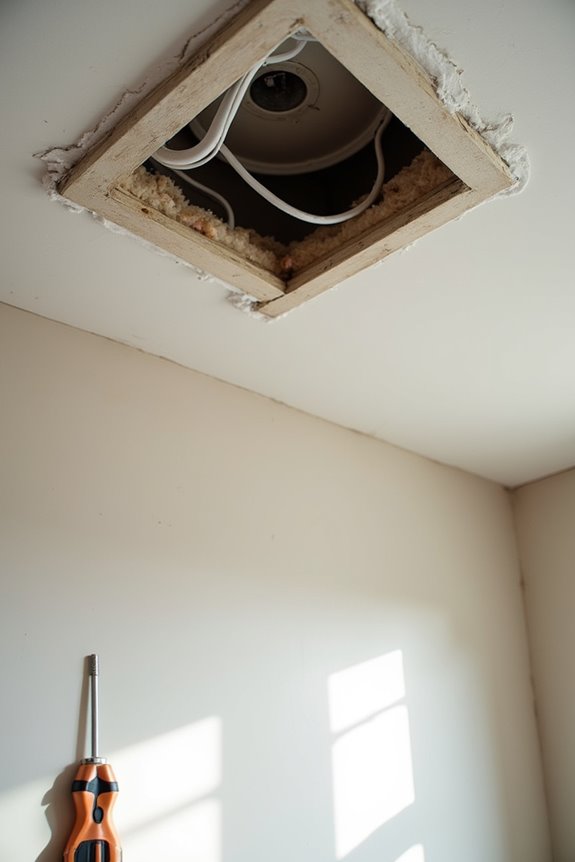
Three setup factors determine your success. First, your ceiling opening matters. Universal bathroom exhaust fans fit existing openings when you’ve got attic access or a room-side location. Second, ducting options simplify everything. Compatible 4–6 inch ducts with short, straight runs mean less airflow resistance and easier sealing. I’ve seen complicated ductwork derail projects fast.
Universal fans with existing openings and compatible 4–6 inch ducts make bathroom exhaust installation straightforward and manageable.
Third, your CFM rating and noise targets affect physical fit. Want quiet performance under 1.0 sones? You’ll need space for the compact unit. A quick-mount housing handles most installations without joist interference.
These factors stack together. Getting all three right? Your install becomes manageable.
Do You Need Professional Help? Red Flags That Mean Stop
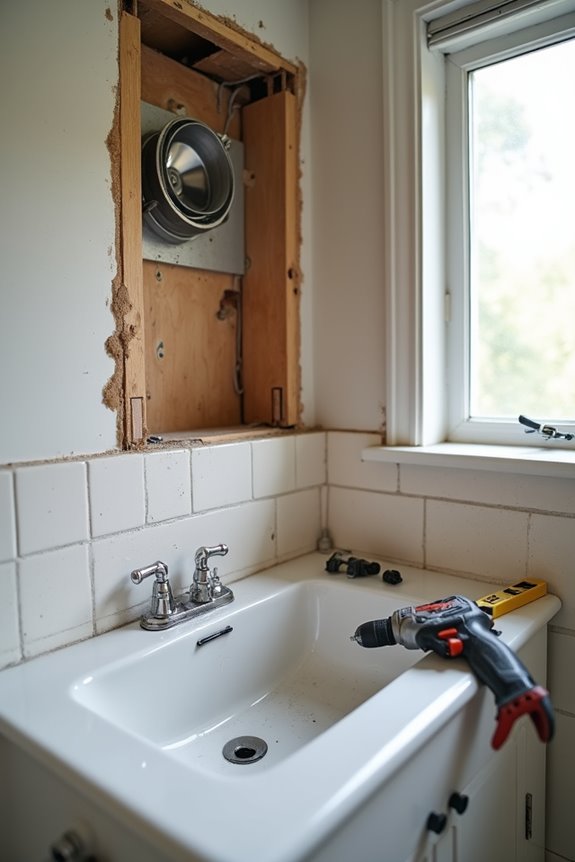
When should you stop and call someone instead of pushing forward? I’ve learned that certain red flags demand professional help. If your bathroom has outdated cloth-covered wiring, that’s your cue to hire a licensed electrician. Missing ground or GFCI protection? Stop right there. New wiring or circuits require code compliance that only professionals can guarantee safely.
Ducting presents similar challenges. If rerouting ducts means enlarging framing or affecting roof venting, you’ll need expert assistance. Inaccessible ducts create installation problems you shouldn’t tackle alone.
After installation, persistent problems signal trouble. Tripped breakers or weak airflow suggest something’s wrong beneath the surface. Rather than guessing, consult a professional who can diagnose issues properly. Safety matters more than DIY pride every time.
How Universal Fans Differ From Custom Units
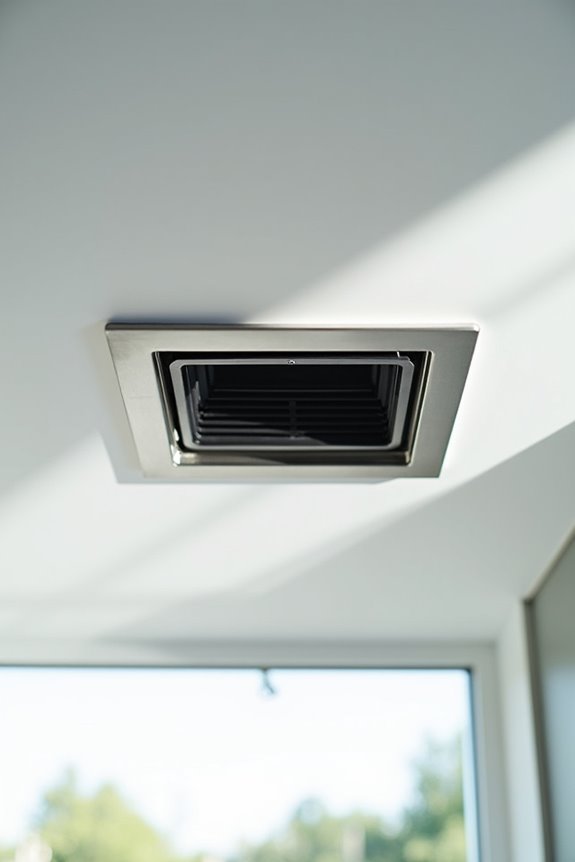
Once you’ve decided a pro isn’t necessary for your project, you’ll want to understand what you’re actually buying. Universal fans and custom units take pretty different paths. Universal fans use standard hole sizes and quick-mount housing, meaning they’ll likely fit your existing opening without extra framing work. I appreciate that they come with off-the-shelf components—no waiting around for specialty parts. They offer flexible ducting options too, which makes installation way simpler. Custom units? They’re built specifically for your space, which sounds great until you realize installation takes longer and costs more. Universal fans win on speed and affordability. You’re trading some personalization for genuine installation ease. For most bathrooms, that trade-off feels pretty fair.
8-Step Bathroom Exhaust Fan Installation Walkthrough
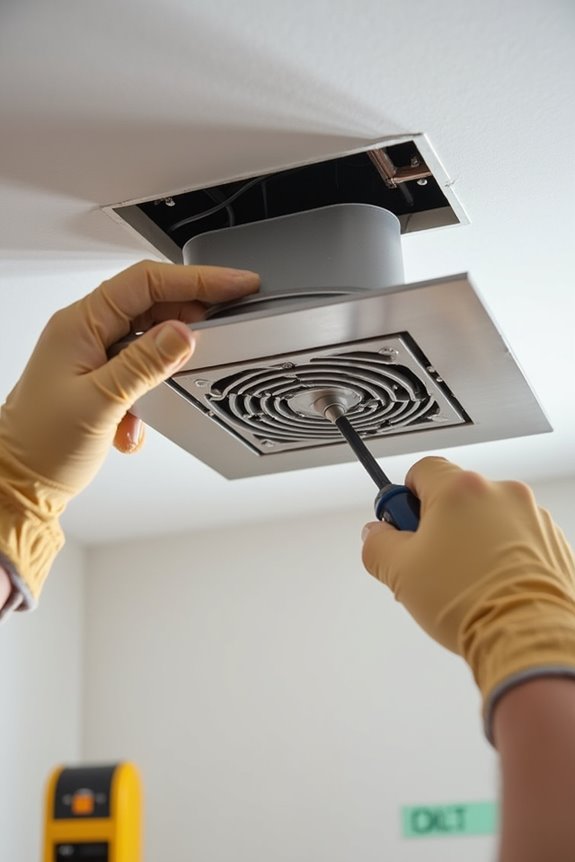
Installing a universal bathroom exhaust fan takes six to eight hours depending on your attic access and how your walls route—but don’t let that number scare you. I’ll walk you through eight straightforward steps.
First, assess your current setup and pick the right CFM rating for your bathroom size. Next, gather your tools: foil tape, a vent duct, wire nuts, and a voltage tester. Then disconnect the old fan and enlarge your ceiling hole if needed.
Here’s where it gets real: secure the new fan housing to your joists with a short, straight duct run. This matters because longer ducts reduce airflow. After fan wiring and attaching the grille, test that air vents outdoors properly. Finally, seal everything with caulk and commit to cleaning blades every six months.
Five Installation Mistakes That Stop DIYers in Their Tracks
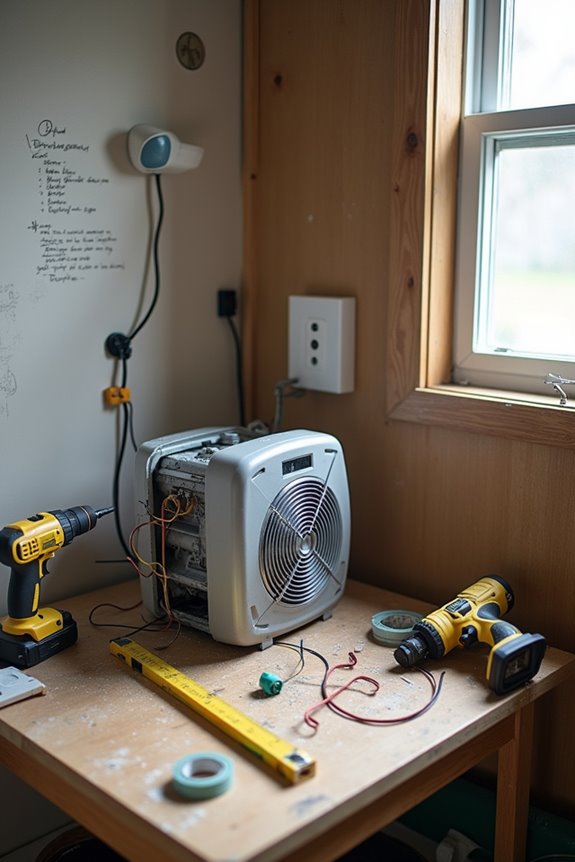
Even with universal fans’ simplified design, I’ve watched plenty of DIYers stumble on three critical mistakes that sabotage their installation. First, they pick the wrong duct size or CFM rating—like installing a 50 CFM fan in a large master bath—which leaves moisture clinging to walls instead of escaping. Second, they overlook outdoor venting entirely or use cheap, non-insulated ducts that trap condensation, and third, they rush through electrical connections by mixing up wire colors or skipping the ground wire, risking both the fan’s function and their safety.
Inadequate Duct Sizing
Why does your bathroom exhaust fan sound like a tiny jet engine while barely pulling steam off the mirror? Inadequate duct sizing is likely your culprit. When I choose a duct too small for my fan’s CFM rating, I’m basically forcing air through a straw. This creates excessive static pressure, making the motor work harder and louder while airflow efficiency plummets.
Here’s what happens with undersized ducts:
- Reduced airflow that can’t handle moisture removal
- Increased noise levels that annoy everyone nearby
- Higher static pressure straining your fan motor
- Moisture backing up into your bathroom
- Poor exterior venting despite running the unit
Getting duct sizing right means matching your fan’s CFM to proper duct diameter and duct run length. This foundational step matters—your bathroom and your peace of mind will benefit.
Improper Electrical Connections
Once you’ve got your ducts sized right, the real test begins—getting the electrical part done safely. I’ll be honest—this is where I’ve seen most DIYers stumble.
Improper electrical connections are serious business. Loose wire nuts, skipped grounding, or mixing wires from different circuits? That’s how you get arcing, shock hazards, or tripped breakers that kill your ventilation when you need it most.
Here’s what matters: secure those cables properly with clamps. Strip your conductors correctly. Connect that grounding wire to the ground clip—no shortcuts. Reusing old wire nuts or damaged connectors invites trouble that’ll haunt you later.
An ungrounded system isn’t just inconvenient; it’s genuinely dangerous. Proper wiring takes maybe thirty extra minutes but protects your home and family. That’s worth it, right?
Neglecting Outdoor Venting
Here’s the thing about bathroom exhaust fans—they’re only as good as where that moist air actually goes. I’ve seen plenty of installations where someone forgot this step entirely. If your fan doesn’t vent outdoors, you’re basically just moving humidity around your home instead of removing it.
Without proper exterior vent setup, moisture builds up inside walls and insulation. Mold starts creeping in. Your duct sealing matters too—poor seals let humidity escape into your attic rather than outside. Long duct runs with sharp bends create backpressure that weakens airflow. And that vent cap? It’s not optional.
What goes wrong:
- Venting into attics instead of outside
- Missing or damaged vent caps
- Unsealed duct connections
- Overly long, kinked ductwork
- Improper exterior vent flashing
Your fan can’t fight gravity and physics. Make sure moist air exits your home completely.
Code Rules That Matter (and Why Inspectors Check)

When I first installed an exhaust fan without checking local codes, I learned the hard way that inspectors aren’t just being picky—they’re protecting your home from moisture damage, electrical fires, and pest invasions. You’ll need to nail three key areas: making sure your fan moves enough air (measured in CFM), routing your ductwork properly so it actually vents outside instead of into your attic, and handling the electrical work safely with proper grounding and GFCI protection. Think of these rules as the difference between a fan that works today and one that causes problems next year.
Ventilation Requirements and CFM
Why does your bathroom fan need to move a specific amount of air? Because moisture doesn’t disappear on its own—it settles into walls and creates problems you’ll regret later.
I calculate CFM requirements using room size. A 50-square-foot bathroom needs about 50 CFM, while larger spaces require roughly 100 CFM. Here’s what inspectors actually verify:
- Exterior venting carries moisture completely outside, not into attics
- Insulated duct prevents condensation buildup inside walls
- Code compliance means sealed joints throughout your installation
- ENERGY STAR models reduce energy waste while controlling humidity
- Sone ratings under 3 keep your fan quiet during operation
These aren’t arbitrary rules—they’re protecting your home’s structure. When you match CFM to your space and choose humidity-sensing fans, you’re investing in longevity, not just quick fixes.
Exterior Venting and Duct Routing
Your exhaust duct’s path determines whether moisture actually leaves your home or sneaks into your walls like an unwelcome guest. I’ve learned that exterior venting must run straight and short—no long, wandering routes that create resistance. That’s where insulated ducting becomes your best friend. It prevents condensation from forming inside the duct, which’d otherwise drip back into your bathroom. When sealing duct joints with proper HVAC tape, I don’t skip corners; sealed connections stop air leaks cold. For wall vents, you’ll cut through the wall and install a vent cap outside. Roof vents need careful sealing to prevent leaks. Inspectors scrutinize these details because improper duct routing and venting create moisture problems that cost thousands to fix later. Getting it right the first time? That’s smart planning.
Electrical Safety and Grounding Standards
How many homeowners realize that flipping a breaker switch is literally the difference between a safe installation and a trip to the hospital?
I’ll be honest—electrical safety isn’t glamorous, but it’s non-negotiable when installing bathroom exhaust fans. Before touching anything, I kill power at the breaker and use a voltage tester to confirm dead wires. Then comes grounding, which honestly feels tedious until you understand it prevents shocks and fires.
Here’s what inspectors actually verify:
- Proper GFCI protection on bathroom circuits
- Bare copper grounding conductors secured to housing
- Wire nuts connecting matching-colored duct wiring
- All splices sealed inside the junction box
- Exterior vent properly sealed and dampened
Skipping these steps? That’s asking for trouble. Do this right the first time, and you won’t regret it.
DIY vs. Professional: Cost and Timeline
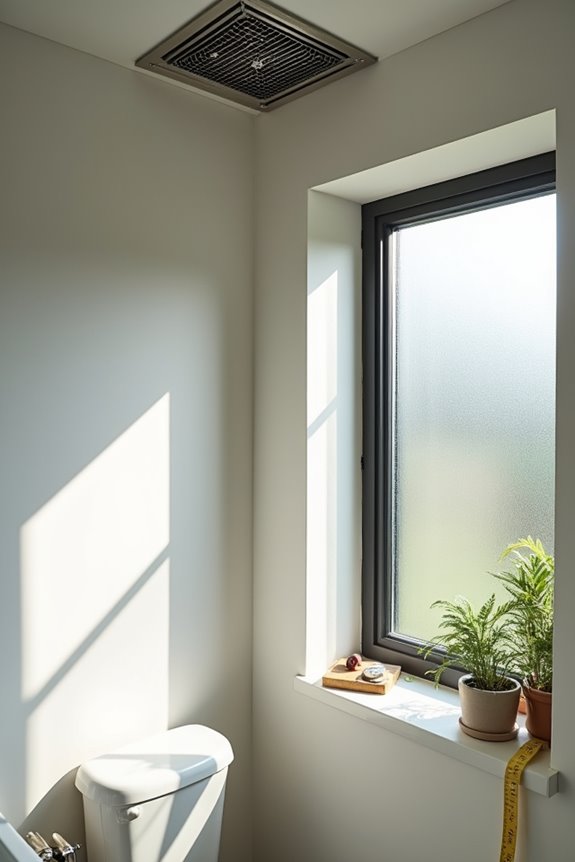
When it comes time to swap out that bathroom exhaust fan, one question typically dominates the decision-making process: should you tackle it yourself or call in a pro?
DIY installation costs around $370 plus tools, while professional install runs up to $800. That’s a significant difference in your wallet. You’ll need a drill, jigsaw, foil duct tape, and other materials for ducting and wiring. The actual work? Plan on 3–4 hours for a standard bathroom.
DIY bathroom exhaust fan installation runs about $370 plus tools and takes 3–4 hours versus professional install costs up to $800.
Professional contractors make sense when you’re dealing with outdated wiring, inaccessible ducts, or structural changes. Those complications stretch timelines and budgets fast. Models with quick-mount housings simplify DIY upgrades considerably.
If you’re handy and your setup’s straightforward, DIY saves money. But complicated situations? That’s when professionals earn their fee.