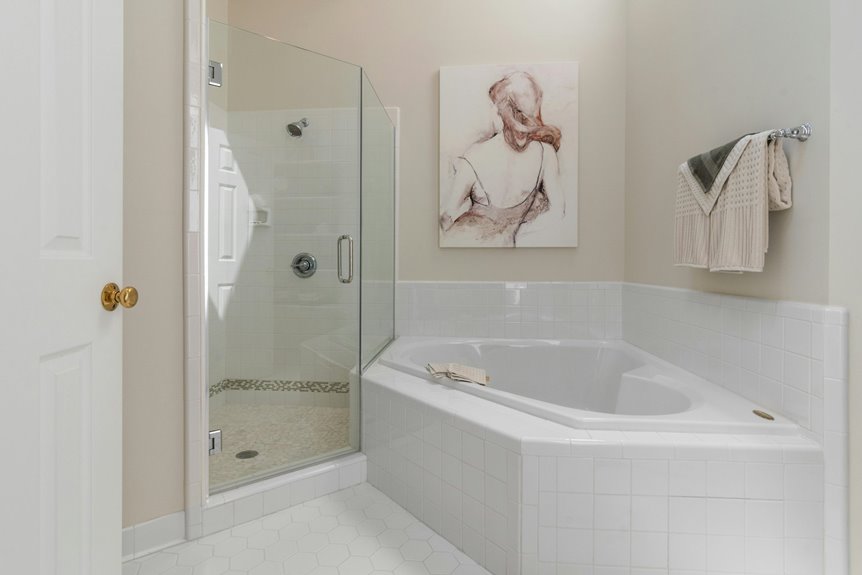
I’ll walk you through painting bathroom tiles so they actually stay put. First, you’ve got to clean everything—I mean *everything*—then sand the glaze so primer sticks. Next, apply a bonding primer designed for tile, followed by two paint coats and a moisture-resistant topcoat. The tricky part? Waiting 24–48 hours before showering so it doesn’t peel off. Skip this and you’ll regret it. Stick with wall tiles away from direct water spray for best results, and keep expectations realistic about maintenance. There’s quite a bit more to nail this perfectly.
Assess Whether Your Bathroom Tiles Are Worth Painting
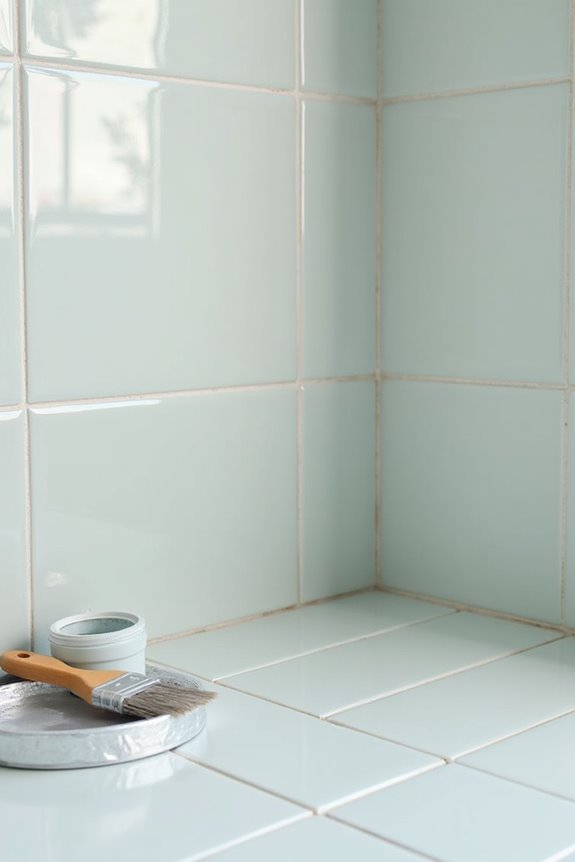
Should you really paint those bathroom tiles, or are you just avoiding the bigger renovation conversation?
I get it—retiling costs money. But before you grab a brush, let’s talk honestly about whether tile painting makes sense for your space. Painting works well for wall tiles away from constant water spray. However, shower floors and heavily splashed areas? They need epoxy coatings instead of regular paint for real durability.
Here’s what matters: your tile assessment. Check for damage, cracks, or loose grout. Significant tile damage means painting won’t save them—you’ll need replacements. Surface preparation and primer aren’t optional steps; they’re your adhesion foundation. Quality topcoats with moisture resistance determine how long your painted tiles actually last. Honest maintenance expectations help too. Grout touch-ups happen. Is that lifestyle sustainable for you?
Clean, Repair, and Sand Your Tiles
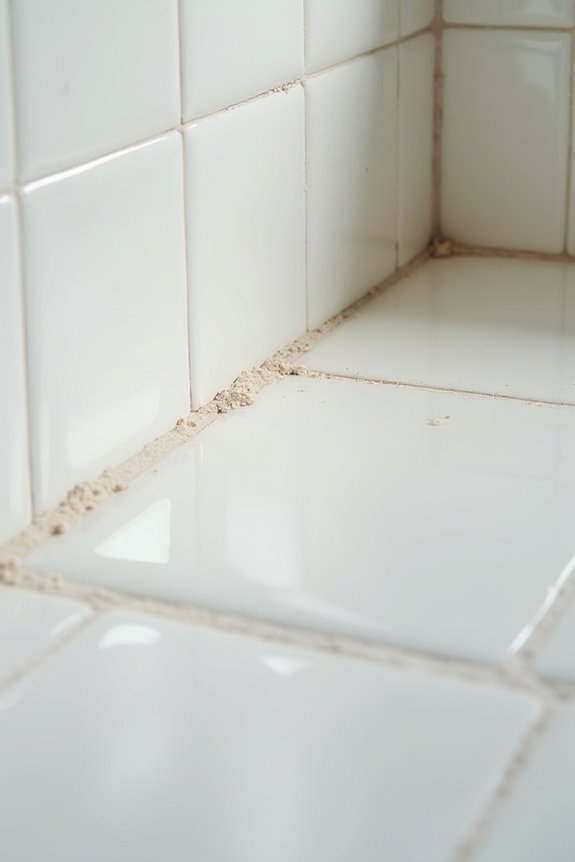
Now comes the part that separates successful tile painting from frustrating failures—and honestly, it’s where most people rush through and regret it later. Thorough cleaning is critical. You’ll want to remove every trace of grease, mildew, and soap scum using TSP or Krud Kutter, then rinse completely. Next, tackle your grout lines by filling them with grout paste and wiping away excess with a damp cloth. Repair any cracked grout or missing sections now. For damaged tiles, replace them; minor cracks get paintable acrylic caulk instead. Finally, sand your tile glaze with 220-grit sandpaper to dull the surface—this prep work is necessary so your primer actually adheres. Skipping these steps means your bathroom tiles won’t hold paint properly.
Prime for Strong Adhesion
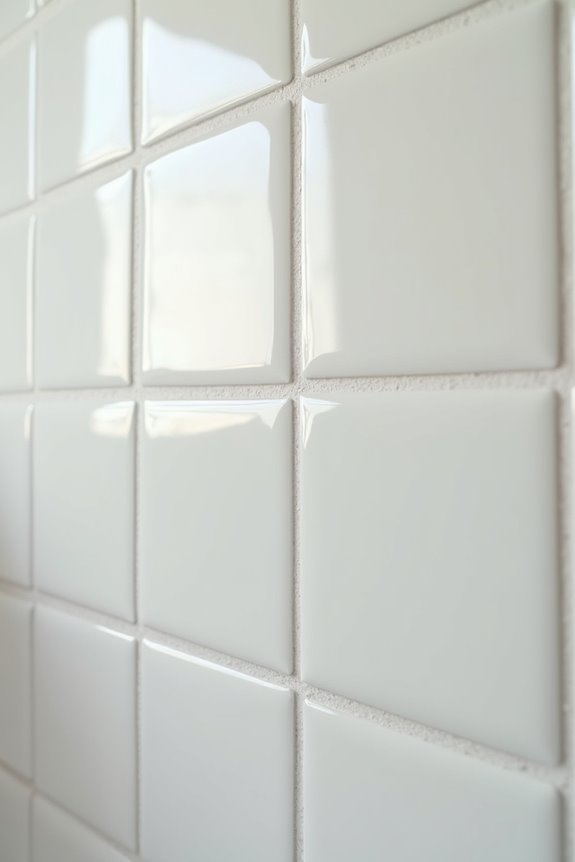
Once your tiles are prepped and sanded, you’ve done the hard part—but here’s where I see people stumble. I’m talking about primer, and honestly, it’s non-negotiable for bathroom tiles.
Here’s the thing: glossy tile surfaces reject regular paint like water off a duck. That’s why I reach for a bonding primer like INSL-X STIX. It’s specifically formulated for tile adhesion and creates that essential surface prep your paint needs.
I apply one coat carefully around edges and grout lines with a brush, then roll the remaining surface. After it dries completely, I add a second coat. This adhesion-focused primer prevents peeling and extends your paint’s lifespan in humid bathrooms—it’s worth the extra step. Your future self will appreciate it.
Paint Your Bathroom Tiles in Two Coats
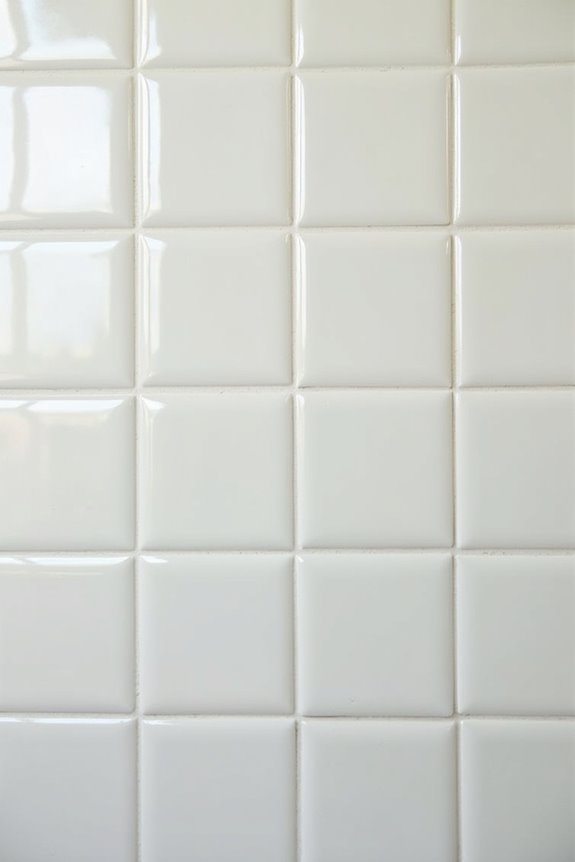
Why do people rush the paint application? I’ve learned the hard way that skipping steps leads to peeling paint and wasted effort. Here’s what I do instead.
I apply my first coat of tile paint evenly across the bathroom tiles, following the product guidelines for drying time. Then I apply a second coat. This two-coat approach provides durable coverage and even color that lasts.
| Step | Action |
|---|---|
| 1 | Apply first coat to tiles |
| 2 | Allow full dry time |
| 3 | Apply second coat |
| 4 | Seal with moisture-resistant topcoat |
Why two coats? The primer gives adhesion, but the paint coats build that moisture-resistant protection your bathroom needs. After the second coat dries, I seal everything with a topcoat. This straightforward routine makes your tiles more durable and long-lasting.
Let Paint Cure Before Using Your Bathroom
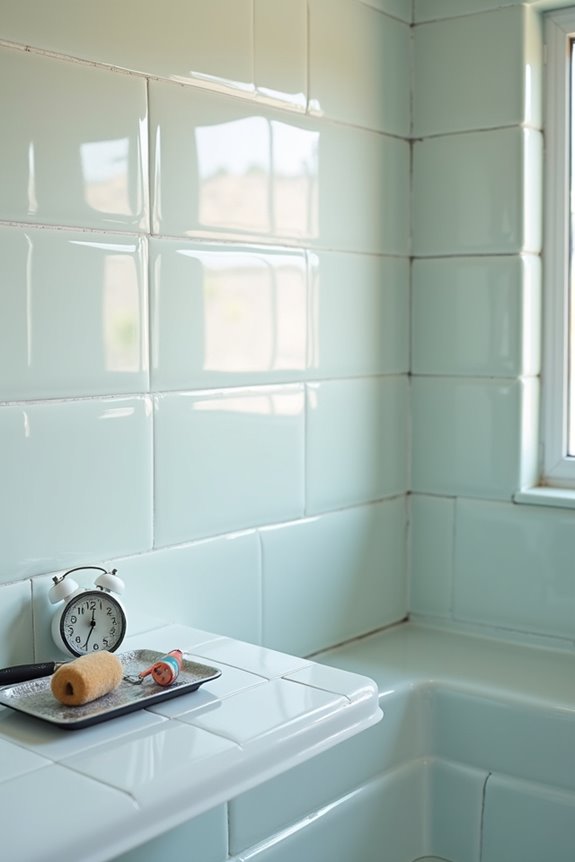
After you’ve applied that second coat and sealed everything with your topcoat, the real patience test begins. I know—waiting is tough. But here’s the thing: your bathroom tiles need time to cure properly, and that’s what makes this whole tile painting process actually stick around.
Most primers and topcoats need 24–48 hours before you expose them to humidity. That means no showers yet. Moisture exposure during the gradual curing phase? That’s how peeling happens, and nobody wants that mess.
Check your product labels for exact cure time recommendations. Once that drying period ends, you can start using your bathroom. Your tiles gain real durability.
After cure, gentle cleaning with soap and water works great. Just skip harsh cleaners. You’ve invested in this finish—protect it, and it’ll protect your bathroom for years.