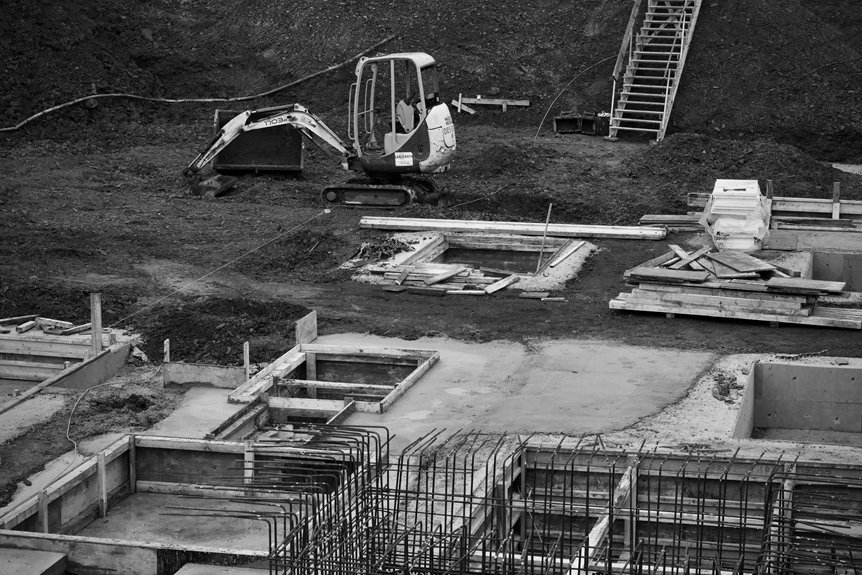
Building a basement requires five critical phases, and I’ll walk you through each one. First, assess your site—check soil conditions, map utilities, and grab permits so you don’t hit a gas line. Next, pick your excavation method based on your space. Then excavate carefully to proper depth and install footings that anchor everything. After that, build your foundation walls with reinforcement. Finally, install drainage and waterproofing before pouring your concrete floor. Each step builds on the last, and skipping corners creates costly problems down the road—the details ahead show you exactly how to get this right.
Step 1: Assess Your Site Before Breaking Ground
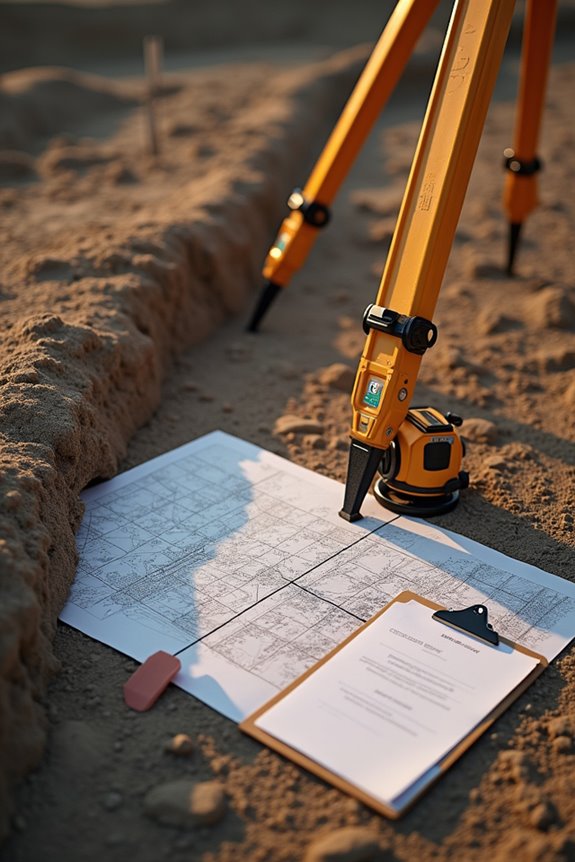
Before you grab a shovel or call in the heavy equipment, take time to thoroughly understand your property—discovering that your soil is basically quicksand after you’ve already started digging will create significant problems.
Before you dig, understand your property—discovering problematic soil conditions mid-project creates expensive headaches.
I always start with a thorough site assessment. I check soil conditions like clay content and wetness, which directly affect how deep I can safely dig. I map out underground utilities—water lines, gas, electric—so I don’t accidentally hit them. I also evaluate my property’s topography to understand drainage patterns.
Then I tackle the budget contingency. I set aside 10–15% extra because surprises happen. Finally, I identify which permits I’ll need for basement excavation and foundation walls. Getting these details right upfront saves me headaches later.
Step 2: Choose Your Excavation Method
Step 2: Choose Your Excavation Method
Once you’ve got your site mapped out and permits in hand, it’s time to pick how you’ll actually dig. Your basement excavation method shapes everything that follows, so choose wisely.
Your main excavation methods:
- Open-cut – The most economical option. You dig down with sloped walls, no fancy retaining walls needed. Best if you have adequate space.
- Top-down – You build your foundation walls first, then excavate inside. It costs more but allows you to work in cramped urban spots without disturbing neighbors.
- Island method – You excavate from inside out, bracing center structures to outer walls. It’s stable and cost-efficient for the right project.
You’ve also got bracing, which uses horizontal struts to support walls, and anchored excavation, where steel anchors lock into bedrock. Consider your site’s soil type, budget, and space constraints. What works for your neighbor may not work for you.
Step 3: Excavate and Prepare the Foundation Hole
Step 3: Excavate and Prepare the Foundation Hole
How deep does your hole need to go? That depends on your local frost line and building codes—dig deeper than the initial measurements suggest.
Foundation depth depends on your local frost line and building codes—always dig deeper than initial measurements suggest.
Once mapping is complete, excavation begins. We remove the virgin soil carefully, creating a space larger than the planned foundation. This extra room is necessary because we’re building something permanent here.
Next comes footing installation. Concrete footings are poured at the bottom of the hole to prevent sinking and handle the structure’s weight. These footings must withstand natural forces and continuous pressure.
After the footings cure, reinforcement like rebar is added to strengthen the foundation walls. This stabilization keeps everything solid.
Finally, backfill starts using excavated soil. It will loosen over time, so we compact it carefully throughout the process. The foundation hole is now ready for the next phase.
Step 4: Install Footings and Build Foundation Walls
Think of footings as the basement’s anchor to the earth—they’re the concrete base that keeps your entire structure from sinking into the ground over time. I pour these concrete elements deep into the excavation, where they distribute your home’s weight evenly across virgin soil.
Next, I build foundation walls around the perimeter. Here’s what happens:
- Concrete or concrete block walls rise above the footings to enclose your basement space
- Rebar reinforcement gets added to resist lateral and vertical loads
- Drainage and waterproofing measures install before backfill happens
The backfill surrounding these walls tends to be looser and absorbs water easily. That’s why I prioritize proper drainage and waterproofing—exterior membranes and foundation drain tiles manage moisture before I pour the floor. This protects your basement from future water damage.
Step 5: Install Drainage, Waterproofing, and Concrete Floor
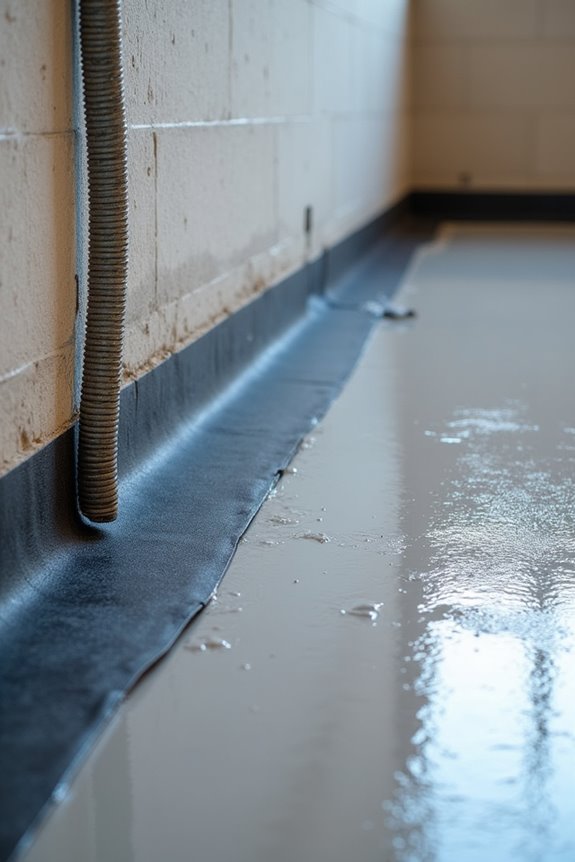
Why does water always find its way into basements? I’ve learned it’s because we need multiple defenses working together. First, I install a perimeter drainage system with perforated pipe in 3/4-inch stone to channel water away from the foundation walls. Next, I apply exterior waterproofing coatings before backfilling—this stops moisture before it starts. Then comes the footing drain, which catches groundwater before it reaches the concrete floor. I layer stone beneath the slab for filtration and drainage paths, keeping everything dry. Finally, I pour the concrete floor on properly compacted backfill. Throughout this process, I coordinate inspections to verify drainage, waterproofing, and floor placement meet code requirements. Getting these details right means your basement stays dry for decades.