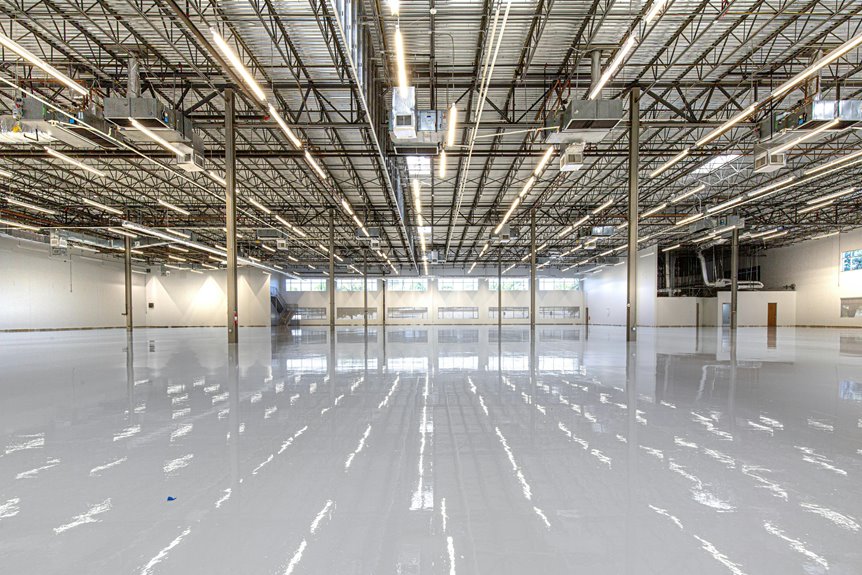
I’ll tackle your basement floor in three phases. First, I tape down plastic sheeting for 24–48 hours to spot moisture problems—you’d be surprised how many floors fail because of hidden dampness.
Next, I sweep, degrease, patch any cracks, and etch the concrete to open its pores so epoxy actually sticks.
Finally, I mix the epoxy carefully, apply thin coats with a roller, and let each one cure completely.
Skip any step, and you’re looking at peeling coatings.
Want to know what mistakes derail most DIYers?
Test Moisture and Assess Your Floor Condition
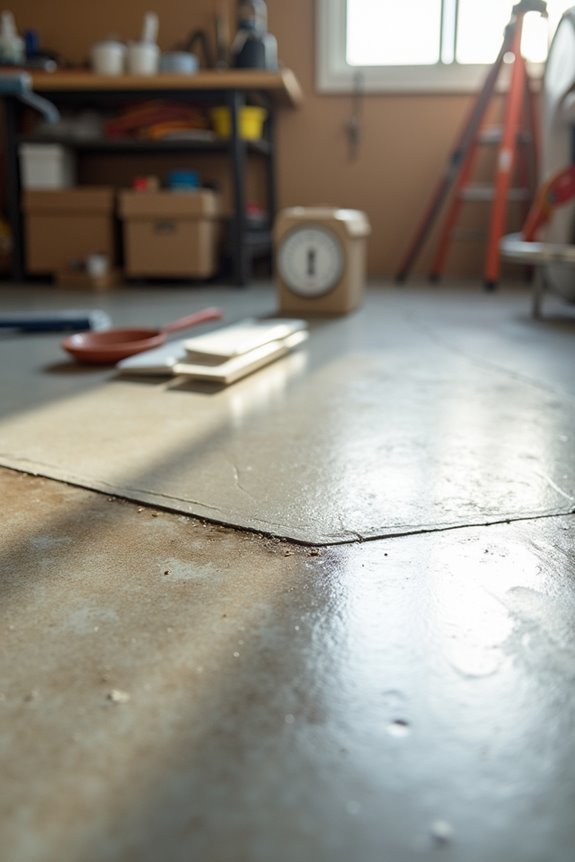
Why does moisture matter so much before you apply epoxy to your basement floor? Water underneath will ruin everything you’re about to do. I learned this the hard way.
Moisture beneath your basement floor will destroy your epoxy project. Test for water before you start—I learned the hard way.
Start with a moisture test. Tape a 2–3 ft plastic sheet directly on your concrete floor and wait 24–48 hours. If you find condensation or a damp spot, you’ve got a problem that needs solving first.
Next, assess your basement floor honestly. Look for cracks, chips, and spalling. Check for contaminants like oil or grease that’ll wreck adhesion. Note any dirt, dust, or mildew requiring cleaning.
Document everything you find. This guides your surface assessment, cleaning, etching, and determines your floor readiness for epoxy. Re-test moisture after repairs to confirm you’re ready to proceed.
Prepare Your Concrete for Epoxy: Clean, Etch, and Patch
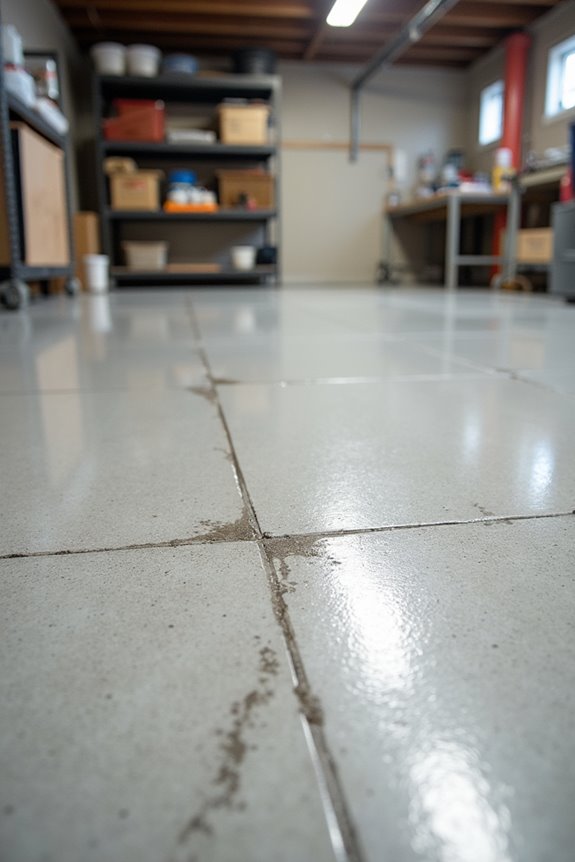
- Sweep and vacuum everything, then degrease with a concrete degreaser and scrub hard
- Etch the surface with acid-based solution to open the concrete’s pores for better bond adhesion
- Patch any cracks or holes with cement-based patching compound
- Verify the basement floor is completely dry before moving forward
Wear gloves and goggles during etching—acid’s no joke. Once patching compound dries, you’re ready for that epoxy coating.
Mix, Apply, and Cure Your Epoxy Coating
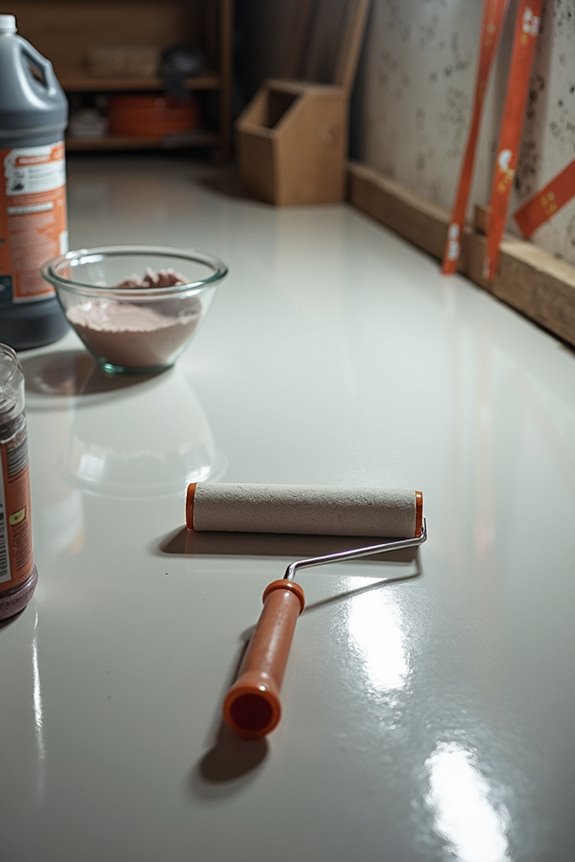
Now that your concrete is prepped and ready, it’s time for the main event—mixing and applying that epoxy coating. I’ll carefully combine Part A and Part B according to the manufacturer’s instructions, because getting the ratio wrong means wasted effort and a failed basement floor.
Using a roller, I’ll apply thin coats in smooth, even strokes, starting from the far corner and working toward the exit. Why the exit strategy? So I’m not trapped like a bug in fresh epoxy. Most projects need two coats, so I’ll let the first one cure completely before applying the second.
I might add a primer coat beforehand for better adhesion. After finishing, I’ll maintain proper ventilation and allow adequate curing time. Your basement floor will be ready for use.