Yes, you need to wash those walls first. Think of it like this: applying paint to a dusty surface is like sticking a decal on a dirty window—it just won’t stick. Grime, dust, and grease create a slippery barrier that stops paint from gripping properly, leading to peeling and bubbling within months. I’d spend thirty minutes washing with warm soapy water, let them dry completely, and your paint job will last years instead of falling apart. There’s a lot more to guarantee that durability, though.
Yes, Walls Must Be Washed Before Painting for Durability
Why do painters spend time washing walls before breaking out the brush? Because I’ve learned that skipping this step is like building a house on sand.
Skipping wall preparation is like building a house on sand—your paint job will crumble without a solid foundation.
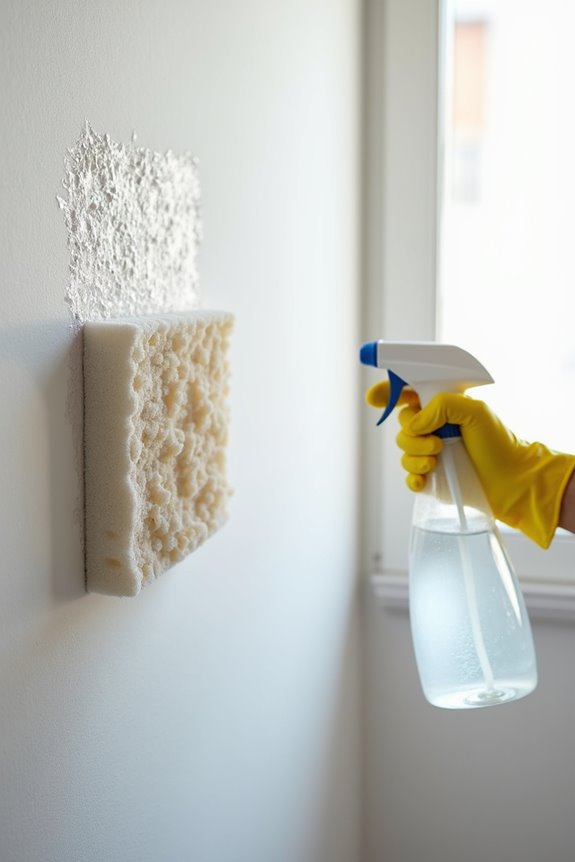
When I wash my walls, I’m removing grime, dust, and cobwebs that prevent paint from sticking properly. In kitchens, I use grease-cutting detergent since oily buildup is sneaky. A sponge and warm water do the trick, followed by rinsing with a damp cloth.
Here’s the thing: paint adheres better to clean surfaces. That means my paint job lasts longer and looks better. I also make sure walls dry completely before applying primer or paint—moisture causes blistering.
Whether I’m painting over existing paint or bare walls, prepping walls through washing is non-negotiable. It’s the difference between a paint job that holds up and one that disappoints.
Why Grime Blocks Paint From Sticking
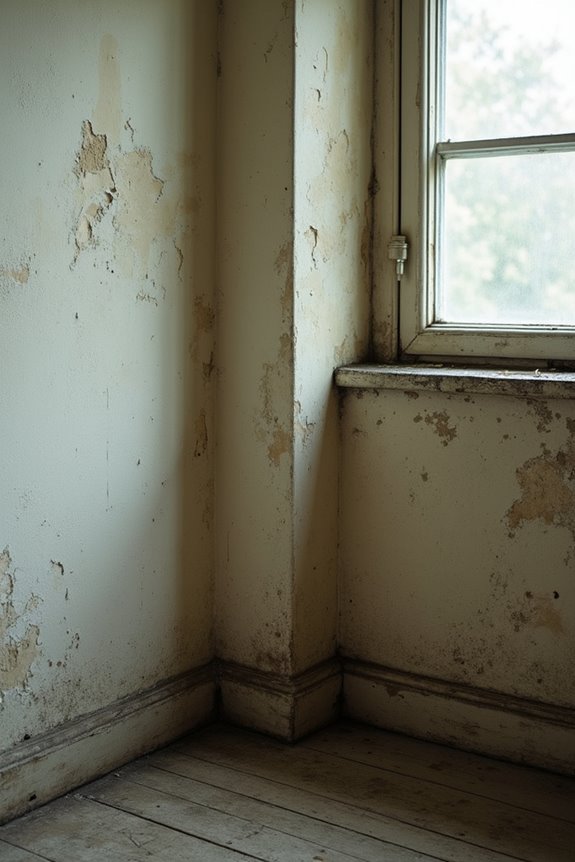
When you paint over dusty walls or greasy kitchen surfaces without cleaning them first, you’re basically asking your paint to stick to a slippery barrier instead of the wall itself. I’ve seen dust particles and oil buildup create an invisible shield that prevents primer and paint from bonding properly, which means your new coat can start peeling in weeks rather than lasting for years. Understanding why grime blocks paint adhesion helps explain what happens behind the scenes when a paint job fails—and why that extra washing step upfront saves you from frustrating touch-ups down the road.
Dust and Debris Buildup
Before you even crack open that paint can, there’s an invisible enemy sitting on your walls: dust.
Dust and debris create a micro-layer that’s basically paint repellent. When you skip washing, you’re painting over a barrier that prevents adhesion. That means your new color won’t stick properly.
Think of it like trying to apply a sticker to a dusty surface. It just slides around, right?
Loose particles, cobwebs, and grime trap air pockets underneath your paint. These air gaps cause your finish to bubble, peel, and fail way faster than it should. I’ve learned this the hard way.
That’s why I grab a sponge and warm water first. Removing that debris beforehand makes the difference between a paint job that lasts years and one that disappoints you in months.
Oil and Grease Accumulation
How does grease end up sabotaging your paint job? Well, oil and grease create invisible barriers on your walls. I’ve learned that when you skip washing, paint can’t grip the surface properly. Kitchen walls are notorious offenders—cooking splatters leave stubborn deposits that water alone won’t budge.
Here’s why this matters: paint needs direct contact with the wall to stick. Grease prevents that connection, leading to peeling and blistering within weeks. You’ll want to use warm water mixed with grease-cutting detergent to break down those oily buildup areas before painting.
After washing thoroughly, allow everything to dry completely. Moisture trapped underneath causes its own bonding problems. I’d rather spend thirty minutes washing properly than watch my fresh paint peel away. It’s the difference between results that last and disappointment that doesn’t.
Paint Adhesion Problems
Why does paint sometimes slide right off your walls like it never belonged there? The culprit’s often grime blocking your primer and paint from sticking properly. When you skip cleaning, dirt creates a slippery barrier that prevents adhesion—your paint can’t grip the surface.
Here’s what happens when you paint over grime:
- Primer fails to bond, leaving weak spots underneath
- Paint peels and flakes within months
- Your finish looks blotchy and uneven
- Moisture gets trapped, causing blistering
Dirty walls mean wasted money and frustration. That’s why cleaning matters so much. A simple wash with warm water and mild soap removes the obstacles preventing strong adhesion. Your paint needs a clean canvas to stick to, and the results will last longer.
Dust and Debris Destroy Paint Adhesion and Longevity
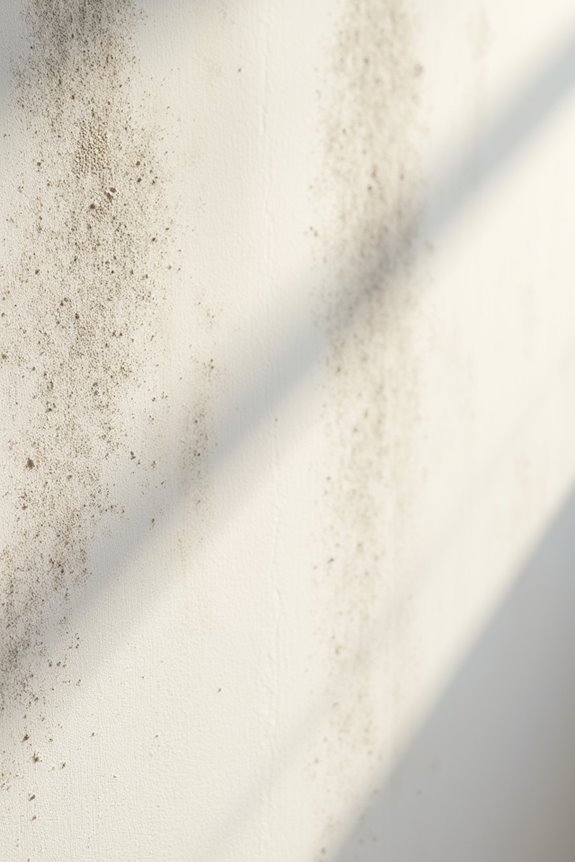
When I skip washing my walls and slap paint right over dust and debris, I’m basically asking for trouble—that new coat won’t stick properly because it’s bonding to dirt instead of the wall itself. What I’ve learned the hard way is that even a thin layer of dust acts like a barrier, causing my paint to peel or bubble down the line, which means I’m repainting sooner than I’d like. So here’s the thing: taking time to clean first isn’t just about appearance; it’s about making sure my paint actually stays put for years instead of flaking off in chunks.
Dust Prevents Paint Adhesion
Ever noticed how paint sometimes peels off in little flakes, like your walls are shedding skin?
That’s dust at work. When you skip cleaning, tiny particles create a barrier between your wall and paint. Here’s what happens:
- Paint can’t grip properly — Dust acts like a slippery layer, preventing adhesion
- Chipping starts early — Paint flakes off within months instead of lasting years
- Your finish looks uneven — Dust creates rough spots where color appears patchy
- Moisture gets trapped — Particles hold water underneath, causing blistering
I learned this the hard way. My first painting project looked good for three weeks before peeling began. A simple damp wipe beforehand would’ve saved me hours of frustration. Proper adhesion starts with cleaning. Fine dust matters more than you’d think when you’re investing time and money into improving your walls.
Debris Shortens Paint Lifespan
Dust and grime don’t just sit harmlessly on your wall—they actively work against your paint’s staying power. When you skip washing, that dirt creates a barrier between your wall and primer, weakening adhesion right from the start. Paint peels within months on unprepared surfaces, while cleaned walls remain intact for years.
Here’s why: debris traps moisture and contaminants underneath your fresh coat. This moisture causes blistering and bubbling as your paint ages. The durability you’re counting on gets compromised before you even finish painting.
Washing with lukewarm water and mild soap removes grime, cobwebs, and dust. A thorough rinse and dry is your investment in paint that actually lasts. Skipping this step costs money in the long run.
Assess Wall Condition Before You Start Washing
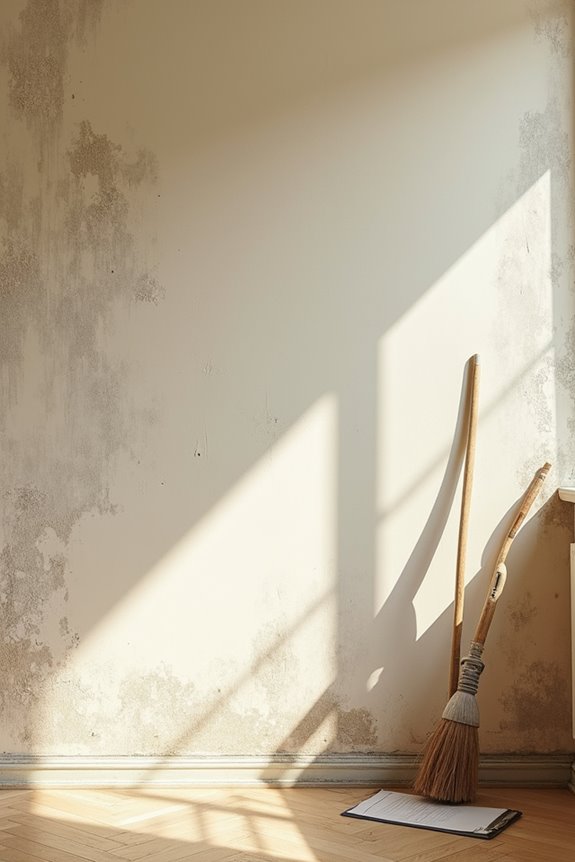
Before you grab that sponge and bucket, take a moment to really look at your walls—what condition are they actually in? I’ve learned this the hard way. A quick assessment now saves you from disappointment later.
Here’s what I check:
- Cracks and splits: These need spackle and sanding before anything else
- Peeling paint: I scrape it off and sand the edges smooth
- Stains or marks: Some won’t wash away and need patching instead
- Rough spots: These show through fresh paint like a bad secret
Think of this like inspecting your car before a road trip. You wouldn’t ignore a warning light, right? Same principle here. Taking fifteen minutes to spot problems means your paint job won’t highlight every wall flaw. You’ll end up with results you’re actually proud of.
Remove Loose Paint and Repair Wall Damage
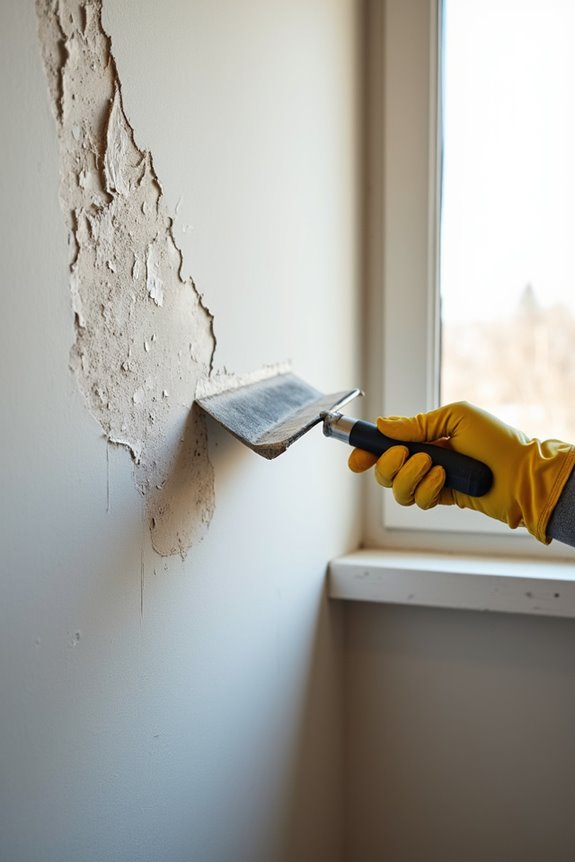
Now that you’ve spotted what needs fixing, it’s time to actually fix it. Loose paint’s your enemy here—it’ll just flake off and ruin your new coat. Scrape away any peeling paint with a putty knife until you hit solid surface. It’s tedious work, but this step matters.
Next, patch those cracks and holes. Small gaps? Use spackling compound. Larger damage? You’ll want joint compound instead. Let it dry completely, then sand smooth so it’s flush with your walls.
Why does this matter? Because primer and paint won’t stick properly to damaged surfaces. You’re basically creating a clean canvas for success. Think of it like prepping before a big project—doing it right now saves headaches later. Your finished walls will reflect the care you put into the preparation.
Handle Mildew: Clean It or Paint Will Fail
If you’ve spotted mildew on your walls, I need to give you some tough love: painting over it won’t solve anything, and honestly, it’ll make things worse as the mildew spreads underneath your fresh coat. I’ve learned the hard way that you’ll need a bleach solution (mix three to four parts water with one part bleach), a sponge, and a soft brush to actually tackle the problem, letting the solution sit for a few minutes before scrubbing it away and rinsing thoroughly. After all that cleaning work, you’ll want to let the area dry completely—and I mean completely—before you even think about opening a paint can.
Why Mildew Fails Paint
What happens when you slap paint over mildew? It’s basically a recipe for disaster. I’ve learned that mildew doesn’t just disappear under paint—it thrives there instead. Here’s why this matters:
- Mildew keeps growing beneath your fresh coat, spreading like an unwanted houseguest
- Paint won’t stick properly because mildew blocks adhesion to the wall surface
- Blistering and peeling happen quickly when moisture gets trapped underneath
- You’ll waste time and money redoing the job later
Before you paint, cleaning is necessary. I remove mildew with a bleach solution, let it dry completely, then apply paint. Skip this step, and you’re fighting a losing battle. Your walls deserve better than that.
Cleaning Solution and Method
So you’ve decided not to paint over that mildew—a practical choice.
I’ll mix a cleaning solution using three to four parts water and one part bleach. This ratio works because the bleach kills mildew spores while water dilutes it enough to be safe. I apply this mixture directly to the affected area and let it sit for a few minutes. Then I grab a soft brush and scrub gently—aggressive scrubbing can damage the wall.
Rinsing thoroughly is important. I use clean water to remove all residual bleach and debris, since leftover chemicals interfere with paint adhesion. Patience is necessary: I wait for complete drying time before even thinking about primer. Moisture trapped under paint defeats the entire purpose. I’ll wear gloves and goggles throughout—this protects my skin and eyes from bleach splashes.
Drying Time Before Painting
How long should you actually wait before painting? I’ve learned that patience here isn’t optional—it’s essential.
After you’ve cleaned mildew with your cleaning solution, the wall needs to dry completely. I’m talking bone-dry, not just surface-dry. Here’s what I do:
- Wait at least 24-48 hours after cleaning before priming
- Check that no moisture remains in the wall itself
- Verify the cleaned area feels dry to the touch
- Allow extra time in humid conditions
Rushing this step? That’s how you end up with blistering paint and compromised adhesion. I’ve seen it happen. The topcoat fails because moisture trapped underneath causes it to peel away.
If your wall stays damp, you’ve got a deeper moisture problem. Resolve that first, or painting won’t fix anything. Waiting pays off.
Best Wall Cleaning Methods for Different Surfaces
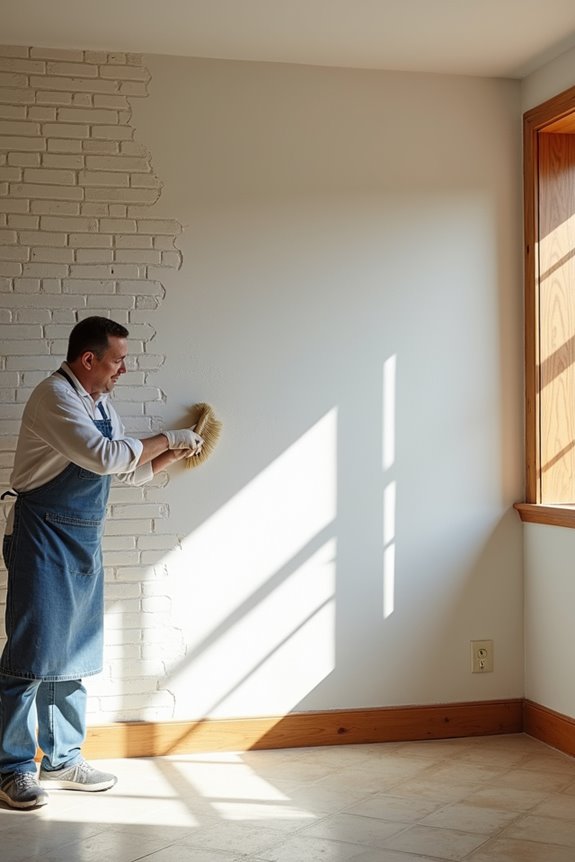
When I’m staring at a dingy wall that’s about to get a fresh coat of paint, I know I can’t just slap primer on there and hope for the best. Different surfaces demand different cleaning approaches. For most walls, I grab a sponge and warm water—simple and effective. But here’s where things get tricky: kitchens need a grease-cutting detergent because oil buildup sabotages paint adhesion. Mildew requires a bleach solution (three to four parts water, one part bleach) and a soft brush. After scrubbing, I wipe everything down with a damp cloth, making sure walls are bone-dry before priming. Glossy surfaces? I lightly sand them first. Each method matters because skipping these steps invites peeling paint and wasted effort.
Washing Walls With Baking Soda and Vinegar
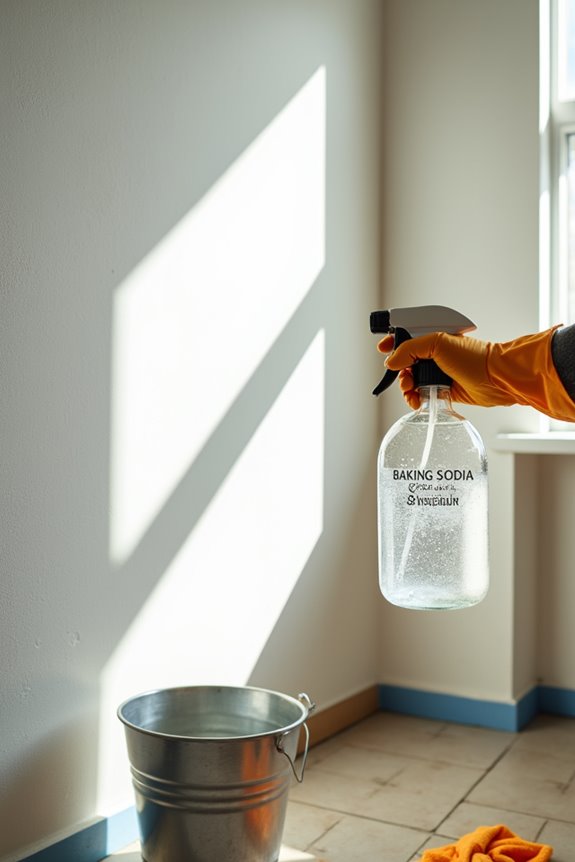
I’ve found that baking soda and vinegar work well for wall cleaning, but you’ll want to get the mixture right—too strong and you’ll risk damaging your paint, too weak and you’re basically just wiping dust around. When I apply this solution, I use a soft cloth or sponge with gentle, circular motions, then follow up with a clean, damp cloth to remove any residue, since that leftover film can mess with how new paint sticks. The tricky part is patience: I let the walls dry completely before even thinking about cracking open a paint can, because moisture and fresh paint don’t play nicely together.
Mixing the Solution Properly
Ever wonder why baking soda and vinegar fizz when they meet? That chemical reaction will create an effective wall cleaning solution for primer preparation.
Here’s how I mix mine:
- Pour a small amount of baking soda into a bowl
- Add vinegar slowly until you get a gentle fizzing reaction
- Stir until you’ve got a paste-like consistency
- Dilute with water until it’s thin enough to spray or wipe
The fizzing action is key—it lifts grime without scratching your walls. I don’t overthink the exact measurements since we’re keeping this diluted anyway. The solution should feel gentle, not aggressive. Once mixed, I use it immediately while it’s still actively working. This approach gives us that clean surface we need before painting without the harsh chemicals.
Application and Cleaning Technique
How do you actually put that fizzy solution to work without making a mess? First, I remove dust by wiping walls with a towel or vacuuming with a brush attachment. This step matters because dust particles trap grime underneath, blocking your cleaning solution from reaching the real dirt.
Next, I apply the baking soda-vinegar mixture using a cloth or sponge, working in small sections. The fizzing action helps lift stains and grime naturally. I’ll admit, watching it bubble is oddly satisfying.
Afterward, I rinse with a slightly damp cloth using diluted dishwashing liquid. This removes any residue so your walls look fresh.
Finally—and this is important—I make sure walls are completely dry before painting. Moisture underneath primer causes problems later. Patience here prevents issues down the road.
Drying Before Paint Application
When you’ve finished rinsing those walls with your diluted dishwashing liquid solution, the real waiting game begins. I’ll be honest—drying feels boring compared to the actual cleaning, but it’s absolutely necessary. Here’s why:
- Moisture causes problems: Any remaining water can trap under your paint, creating blisters and peeling
- Priming needs dry surfaces: Paint won’t stick properly to damp walls, no matter how good your technique is
- Use a dry cloth: Wipe down walls after rinsing to speed things up
- Wait longer in humid conditions: You might need extra drying time if you’re painting on a sticky day
Don’t rush this step. I’ve learned the hard way that skipping proper drying means redoing the whole project. Give those walls plenty of time to dry completely before you even think about priming.
Tackling Greasy Kitchen Walls With Degreaser
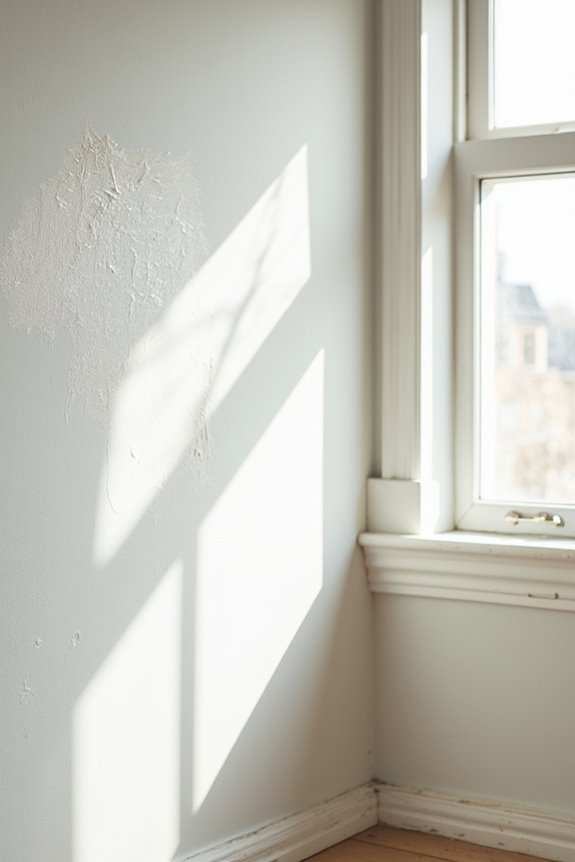
Greasy kitchen walls are basically magnets for stuck-on gunk, and they’ll sabotage your paint job faster than you can say “splatter.” That buildup from cooking—oil residue, steam condensation, and dust particles all clinging together—creates a slick barrier that prevents primer and paint from bonding properly.
Here’s where a grease-cutting detergent or degreaser helps. Apply the degreaser solution generously, let it sit briefly to break down that stubborn grime, then scrub gently with a soft cloth. Rinse thoroughly with clean water afterward—this step matters because leftover residue will still cause problems.
After washing walls, wipe them down with a damp cloth to catch any soap remnants. Then comes patience: let everything dry completely before painting. You’re giving your walls a clean slate, so your new paint can properly adhere to the surface.
Complete Wall Drying Prevents Blistering and Peeling
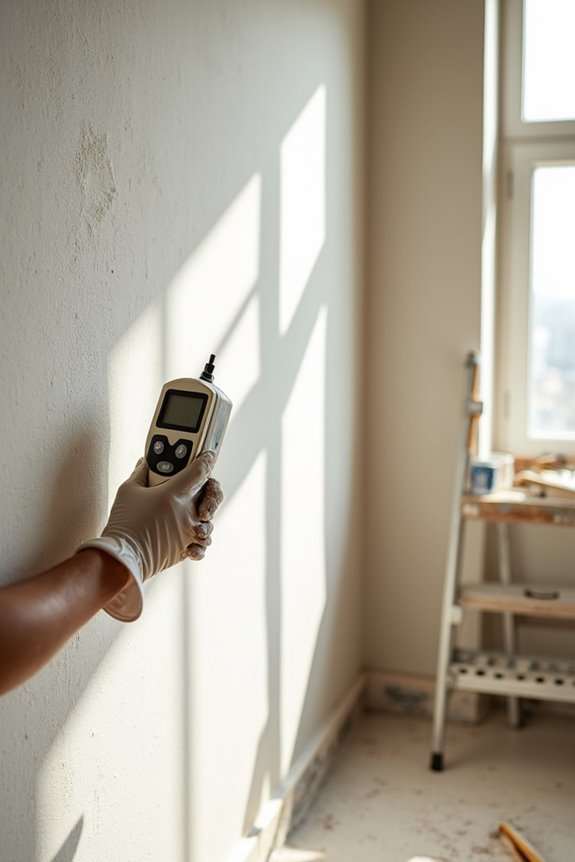
Now that you’ve scrubbed away all that greasy buildup and rinsed your walls clean, you might think you’re ready to crack open the paint can—but wait. This drying stage is where most painting disasters happen. I’ve learned this the hard way—skipping proper drying leads to blistering and peeling paint that’ll frustrate you later.
Here’s why moisture matters during prep:
Residual water prevents paint adhesion, causes blistering, and leads to premature peeling—complete drying is essential for lasting results.
- Residual water prevents paint from bonding properly to walls
- Trapped moisture bubbles up, creating blisters beneath your fresh coat
- Paint peels when it can’t grip damp surfaces
- Your finish fails prematurely without complete drying
Allow ample drying time and use the dry touch test—press your palm against the wall to confirm moisture is gone. I know waiting feels tedious, but this patience pays off. You’re building a solid foundation that’ll keep your walls looking fresh for years.
Sand Walls for Smooth Paint Coverage
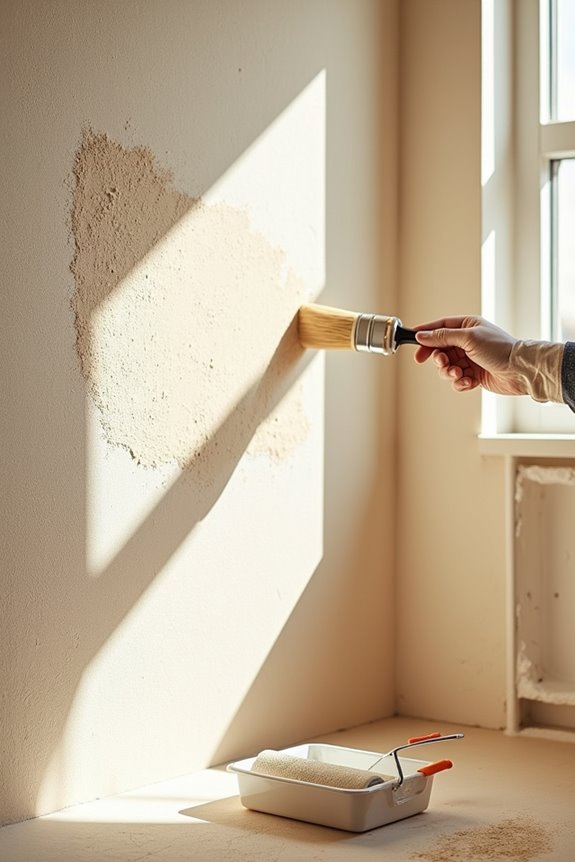
Why do rough, bumpy walls reject paint like it’s water on a freshly waxed car? They don’t have to. Sanding is an effective method for smooth paint coverage that actually sticks around.
Here’s what I do: I grab sandpaper or a sanding block and work those rough spots until they feel smooth to touch. For water-based paint, I use fine-grit sandpaper. Oil-based paint? I step up to medium-grit (100–150 grit) sandpaper instead.
After sanding, I wipe everything down with a damp cloth to remove debris, then let it dry completely. Dust particles can damage your paint job, so this step matters.
When walls are smooth, paint goes on evenly and looks professional. That’s worth the extra effort.
Do You Really Need Primer? Let Your Walls Decide
Should you slap primer on your walls before painting, or can you skip it altogether? The answer depends entirely on what your walls are telling you.
Here’s when I reach for primer:
- Porous walls that soak up paint like a sponge
- Stubborn stains that peek through regular paint
- Dramatic color shifts from dark to light
- Patched areas needing an even foundation
If your walls are in decent shape with similar colors and no patches, you might actually skip primer. Fresh Start primers work well for challenging surfaces when you do need that extra layer of paint adhesion.
The real secret? Assess your wall condition honestly. Let your walls decide what they need. Sometimes that primer’s needed. Sometimes it’s not. That’s what makes the difference between amateur mistakes and professional results.
Why Wall Prep Shortcuts Destroy Your Paint Job
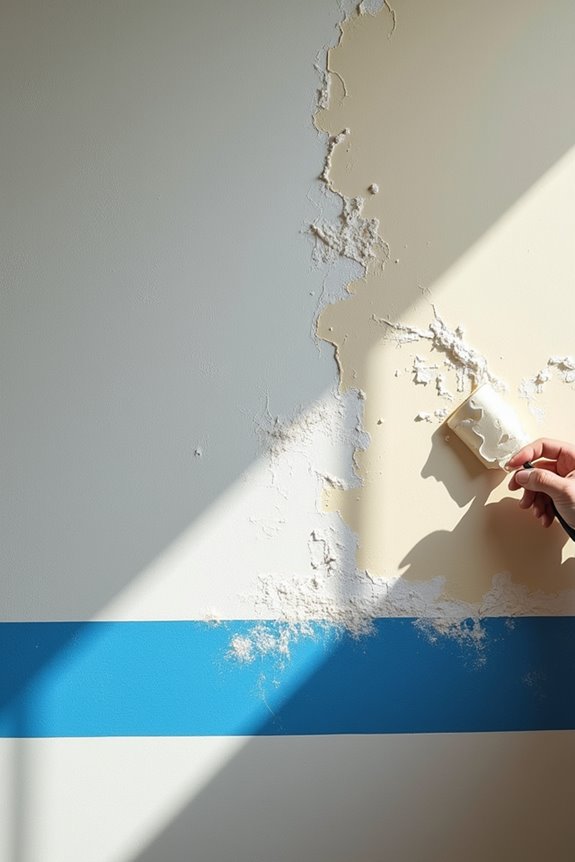
How many times have I watched someone skip washing their walls and then wonder why their fresh paint looked blotchy and peeled off in chunks? It happens more often than you’d think, and I’ve learned the hard way that skipping this step costs you big-time.
When you skip washing, dirt and oils stay put. Your primer can’t grip properly. Moisture trapped beneath the surface causes blistering. The new paint fails spectacularly.
I’ve seen kitchens where greasy buildup prevented proper adhesion. The paint bubbled within weeks. I’ve watched moisture seep behind topcoats, creating peeling nightmares.
Here’s the thing: washing takes minimal effort. It’s the difference between a paint job lasting years versus months. You’re not just painting—you’re protecting your investment. Those few extra minutes of prep work make all the difference.
Step-by-Step Checklist: From Assessment to Paint-Ready
Now that you understand why skipping wall prep sabotages your paint job, let’s get into the actual work—and it’s simpler than you’d expect. Here’s your paint readiness checklist:
- Wash your walls with warm water and a sponge, using detergent solution in kitchens where grease hides
- Address mildew with a 3:1 water-to-bleach mixture before it ruins everything underneath
- Dry thoroughly with a damp cloth—moisture causes blistering, and that’s difficult to fix
- Remove loose dust and inspect for cracks you’ll want to patch
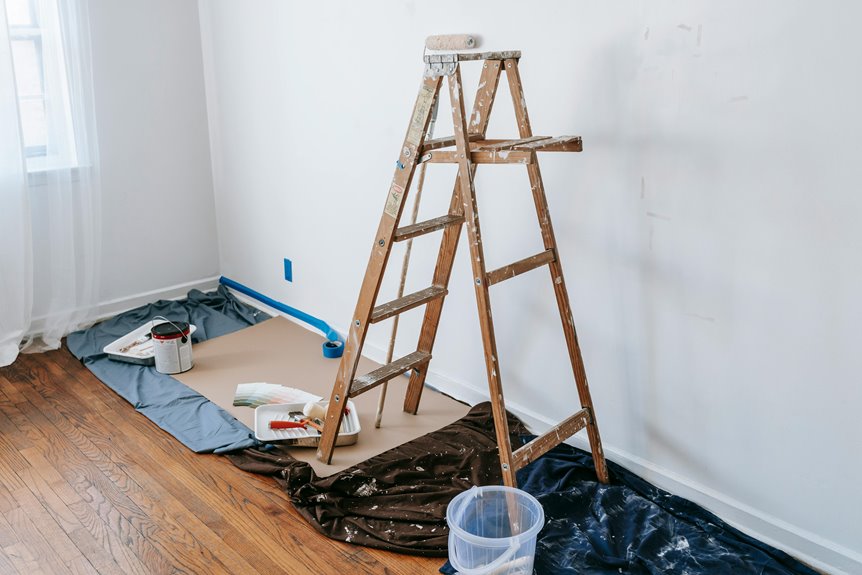
Between washing and primer application, protect your floors with drop cloths. You’re building a solid foundation here. When walls are genuinely clean and dry, your primer sticks properly, and your paint job lasts years instead of months.