Yes, you can wallpaper textured walls, but skipping prep work creates bubbles and peeling disasters. The key? Identify whether your texture’s painted or unpainted—unpainted ones need soaking and scraping, while painted surfaces require skim coating or bridging material to create a smooth base. Choose paste-the-wall vinyl designed for texture. Sand to 200 grit, clean thoroughly with TSP, prime well, and use a smoothing tool along contours during installation. Get the prep right, and you’ll avoid frustrating fixes later.
Can You Wallpaper Over Textured Walls?
Ever stared at your bumpy, textured walls and wondered if you could just slap some wallpaper over them and call it a day?
Ever stared at your bumpy, textured walls and wondered if you could just slap some wallpaper over them and call it a day?
Good news: you absolutely can wallpaper over textured walls. The real question is *how well* it’ll work for you.
Here’s the deal. Lighter textures like orange peel or knockdown are forgiving. They play nicely with wallpaper and won’t fight you. Heavy popcorn texture? That’s trickier. You’ll likely need smoothing options or bridging materials to prevent those bumps from showing through.
Your best move is choosing textured-wall wallpaper specifically—think Peel & Stick vinyl or Paste-the-Wall varieties. They grip better and hide imperfections.
But here’s where prep and priming actually matters. Cleaning, filling cracks, and proper priming set you up for solid wallpaper adhesion. Skip this step, and you’re basically asking for peeling edges later.
Identify Your Texture Type: Painted vs. Unpainted
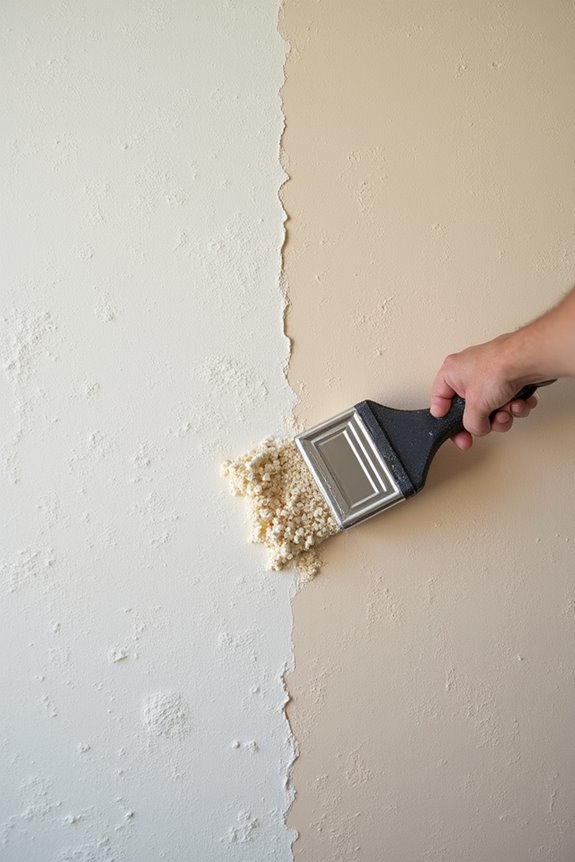
Before you grab a scraper or primer, you need to figure out whether your textured walls are painted or unpainted—and honestly, this detail changes your entire approach.
Here’s why I’m telling you this: painted textures seal your wall’s pores, making them resistant to wallpaper adhesion. Unpainted ones? They’re basically ready to cooperate. Let me show you the differences:
| Texture Type | Best Prep Method | Why It Matters |
|---|---|---|
| Painted | Priming + bridging material | Improves adhesion |
| Unpainted | Skim coating or liner paper | Creates smooth base |
| Painted (flaking) | Additional scraping first | Prevents peeling |
| Unpainted (intact) | Water-based removal | Easier wallpaper removal |
Testing a small area reveals your wall’s condition. Recognizing your texture type means less frustration during prep work and better wallpaper installation results.
Soak and Scrape Unpainted Textures
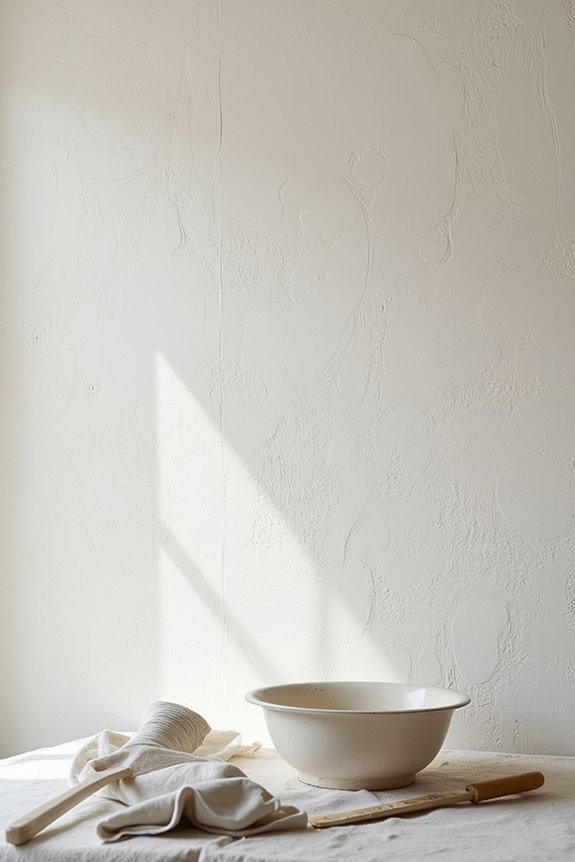
If your walls have never seen a coat of paint, the soak-and-scrape method is your fastest path to a smooth surface ready for wallpaper. I spray water onto the textured walls with a pump sprayer, then wait 10–15 minutes. This moisture loosens the unpainted texture, making removal easier. I test the texture first to see if it’s ready before scraping.
Using a 10″ or 12″ taping knife, I start scraping from the ceiling line downward. If I hit resistance, I reapply moisture and keep going. This preparation removes loose texture and reduces telegraphing before skim coat or bridging work. Protecting floors with canvas tarps prevents slips. It’s straightforward wallpapering prep that prevents frustration later.
Skim Coat Painted or Heavy Textures Before Wallpaper
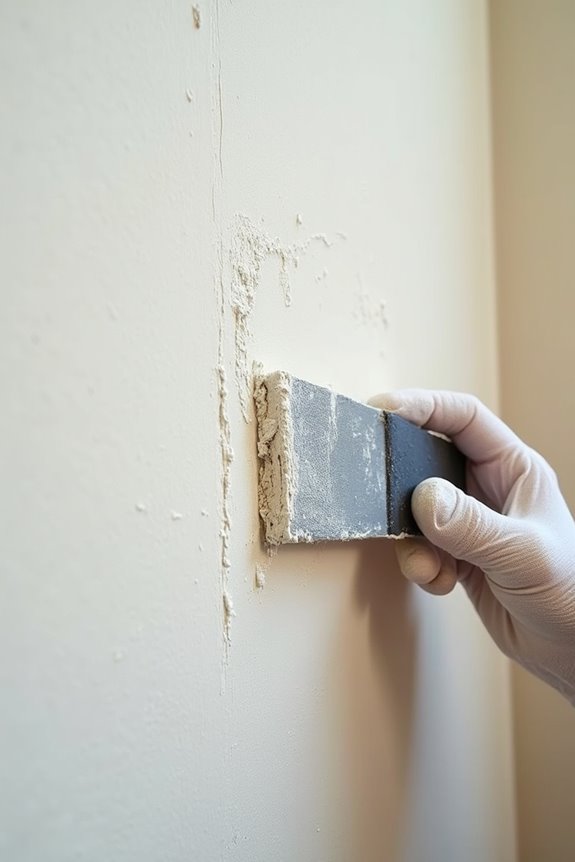
When your textured walls have paint on them, the soak-and-scrape method won’t cut it—painted texture is stubborn and won’t soften no matter how much water you throw at it. Skim coating is an effective solution. Here’s what to do:
- Grab a 10″ or 12″ taping knife for smooth application
- Mix 4.5 gallons of joint compound for full-surface coverage
- Wait 24–48 hours between coats
- Sand lightly between layers to avoid over-sanding
- Consider bridging material as an easier alternative
Skim coating creates that smooth base needed to prevent telegraphing through your wallpaper. Once dry, prime according to product guidelines before hanging wallpaper. This wallpaper prep work produces reliable results.
Choose Wallpaper That Works With Your Texture
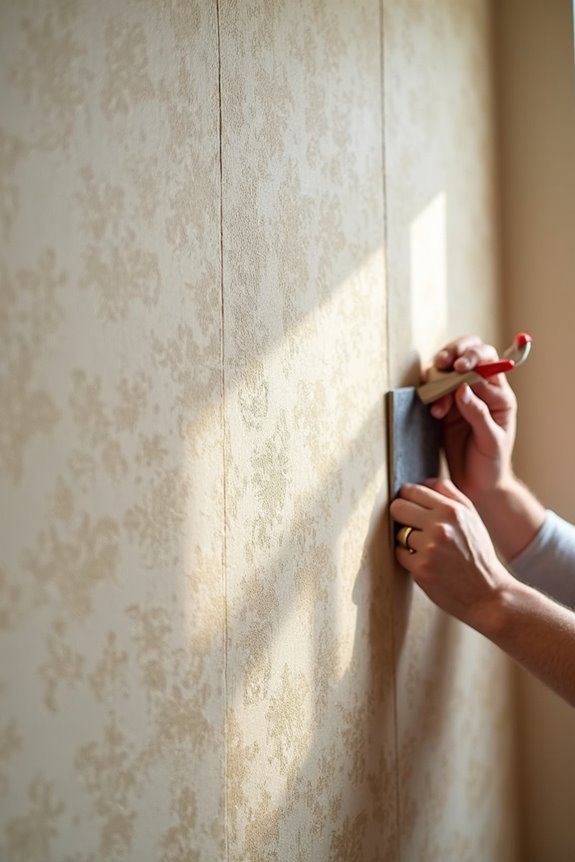
How do you pick wallpaper that actually sticks to textured walls instead of peeling off in frustration?
I’ve learned that your wallpaper type matters enormously. Peel-and-stick vinyl works well on mild textures like orange peel because it conforms smoothly without gaps. For severe textures, paste-the-wall options give you better durability and conformity since they’re thicker and more forgiving.
Consider your room too. Bathrooms and kitchens need waterproof or wipeable wallpapers on textured surfaces—moisture destroys regular paper fast. I always match my wallpaper choice to my wall’s texture level. Mild textures? Grab peel-and-stick. Heavy textures? Paste-the-wall wins.
Don’t skip wall preparation either. Even the best wallpaper type can’t overcome poor prep work. Your texture and wallpaper choice are teammates working together toward success.
Prep Your Wall: Clean, Fill, and Prime
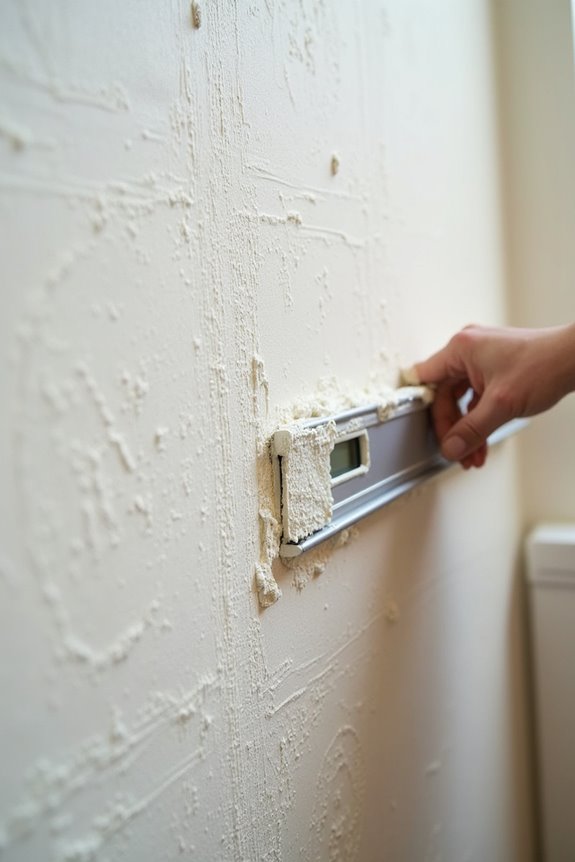
You’ve picked the perfect wallpaper for your textured walls, but here’s the thing—even the best choice won’t stick to a dirty, lumpy surface. I’ve learned this the hard way. Let me walk you through what actually works:
- Clean everything with soap and water, then rinse and dry completely
- Fill holes and cracks using joint compound or spackling paste
- Sand those filled spots smooth for even wallpaper adhesion
- Lightly sand pronounced bumps with a sanding block to improve contact
- Apply primer suited to your wallpaper type per manufacturer guidelines
These steps matter because textured walls trap dirt and create uneven surfaces. If imperfections still bother you, liner paper creates that smooth base you’re after. This prep work prevents frustration later when your wallpaper actually stays put.
Apply Bridging Material for Irregular Surfaces
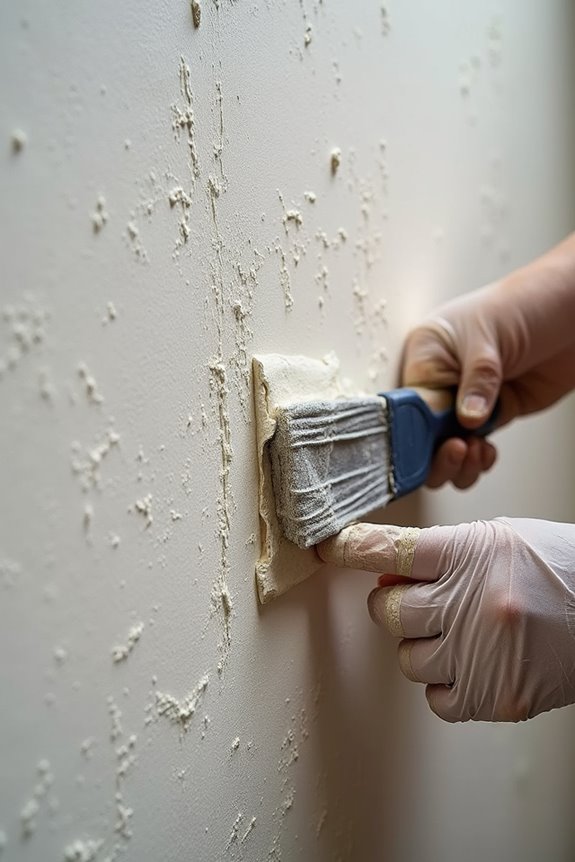
Now that your walls are clean and primed, it’s time to address those bumps and dips with bridging material—this creates a smooth surface before you hang your wallpaper. I’ll walk you through three key approaches: using liner paper to cover minor imperfections, applying joint compound to fill deeper irregularities, and techniques for smoothing out uneven surface areas that would otherwise show through your new wallpaper. These methods work together to create the flat, stable foundation your wallpaper needs to adhere properly.
Liner Paper for Imperfections
When textured walls start showing their age—with bumps, divots, and uneven patches that’d make any wallpaper job look lumpy—liner paper becomes your solution. I’ve found that this bridging layer works wonders where bridging material alone won’t cut it.
Here’s what makes liner paper effective:
- Hides underlying irregularities and severe texture
- Creates a smooth surface for better adhesion
- Prevents telegraphing (that annoying show-through effect)
- Works best after cleaning and filling defects
- Requires complete drying before wallpaper application
Think of it as giving your walls a proper foundation. After I prep by cleaning and filling problem spots, I apply liner paper before any skim coats. Then I let it dry completely and remove all dust. This preparation step turns imperfect walls into reliable surfaces. You’re not just covering problems—you’re building a solid base for quality results.
Joint Compound Application Method
Before you grab a putty knife and start smoothing compound across those bumpy walls, understand that bridging material works differently than regular joint compound—it’s specifically designed to grip irregular surfaces without filling every single divot. Proper surface preparation matters. Sand your textured walls to 200 grit, then clean with TSP to remove dust and debris. Next, apply the right primer based on your wall’s porosity: ROMAN PRO-935 for non-porous surfaces or PRO-999 Rx-35 for porous ones. This prevents telegraphing when you wallpaper later. Apply bridging material in thin, even coats using controlled knife strokes. For a quality finish, consider hiring professionals—they’ll prevent seam issues and maintain uniform coverage. You might need skim coats afterward for deep damage.
Smoothing Uneven Surface Areas
Because textured walls hide all sorts of imperfections—dents, gouges, and uneven patches that’ll show right through fresh wallpaper—you’ll want to use bridging material to smooth things out.
Here’s what works best:
- Sand your wall to 200 grit first to create a smooth base
- Clean everything with TSP or a quality wall cleaner to remove dust
- Apply bridging material directly over rough or damaged areas for seamless coverage
- Let it dry completely—at least 24 hours—before moving forward
- Add a skim coat if you need extra smoothing for better adhesion
Bridging material prevents texture from telegraphing through wallpaper, creating that professional finish you’re after. This surface preparation step matters. Skip it, and you’ll regret it later.
Hang Wallpaper on Textured Walls: Step-by-Step
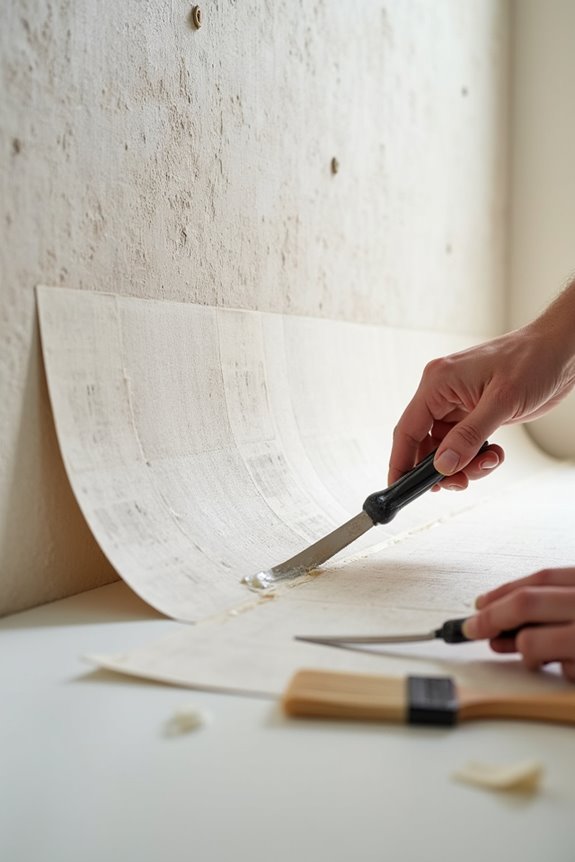
Now that your bridging material has dried for a full day, you’re ready to actually hang that wallpaper—and I’ll admit, this is where things get real. Before you unroll anything, you need to prep your surface one last time and figure out where to start, because slapping wallpaper on crooked or dirty walls is basically asking for lumps and peeling corners. Let me walk you through the basics of getting your textured wall wallpaper-ready and making sure your patterns actually line up instead of looking like they got installed by someone with zero depth perception.
Surface Preparation Essentials
How many times have you slapped wallpaper on a wall only to watch it peel away weeks later?
I’ve learned that skipping surface preparation is the fastest way to wallpapering failure. Getting textured walls ready takes effort, but it pays off. Here’s what I do:
- Clean thoroughly to remove dirt, grime, and old adhesives
- Fill holes and cracks with joint compound, then sand smooth
- Lightly sand the texture to improve adhesion and reduce heaviness
- Prime the surface following manufacturer guidelines for better bonding
- Keep walls completely dry and dust-free before hanging
When I invest time in these steps, my wallpaper stays put. Liner paper helps too if imperfections remain. Think of preparation as building a solid foundation—it’s the difference between wallpaper that lasts and wallpaper that disappoints.
Application Alignment Techniques
You’ve prepped your walls beautifully—they’re clean, primed, and ready. Now comes alignment, where precision matters most on textured surfaces. I grab my laser level and mark vertical guide lines. This keeps my panels perfectly straight despite the bumpy texture underneath.
I work in small sections—two to four panels at a time. Why? It gives me better control and prevents air bubbles from sneaking into those surface irregularities. I use paste-the-wall products because they stick better to textured walls.
Once panels are positioned, I grab a smoothing tool and firmly press along seams, following the texture contours without stretching. I trim edges cleanly against walls and skirting boards. These techniques keep my adhesion strong while my seams stay crisp and professional-looking.
Wallpapering Mistakes to Avoid on Textured Surfaces
Why do so many wallpapering projects fail on textured walls? I’ve learned the hard way that skipping preparation causes disaster. Here’s what I now avoid:
Textured walls demand meticulous preparation; skipping this step guarantees wallpapering failure.
- Skipping smoothing on aggressive textures like popcorn ceilings
- Applying wallpaper directly without primer on porous surfaces
- Ignoring sanding when texture protrusions remain too prominent
- Neglecting liner paper for severe textured walls
- Rushing joint compound application without using proper 14-inch taping knife technique
The truth? Preparation determines everything. I used to think I could skip steps and save time. Wrong. When I smoothed walls with joint compound in 2 ft by 2 ft sections, then sanded and primed, adhesion improved dramatically. Liner paper became an effective solution for stubborn textures. These mistakes taught me that wallpapering textured walls demands patience and proper installation fundamentals.
Fix Bubbles, Gaps, and Peeling After Installation
Even with perfect prep work, wallpaper problems sometimes show up after installation—and honestly, that’s when the real test begins. I’ve learned that bubbles usually mean adhesion issues from textured walls not getting smoothed properly beforehand. You’ll want to use a smoothing tool or small needle to release trapped air gently. For peeling edges, I reapply primer and joint compound around problem areas, then press firmly. Gaps between seams? That’s where liner paper or bridging material really helps—they fill imperfections textured walls create. If your walls are heavily textured, consider whether a skim coat of joint compound during prep would’ve helped. The key is understanding each problem points back to preparation. Don’t skip priming before hanging wallpaper.