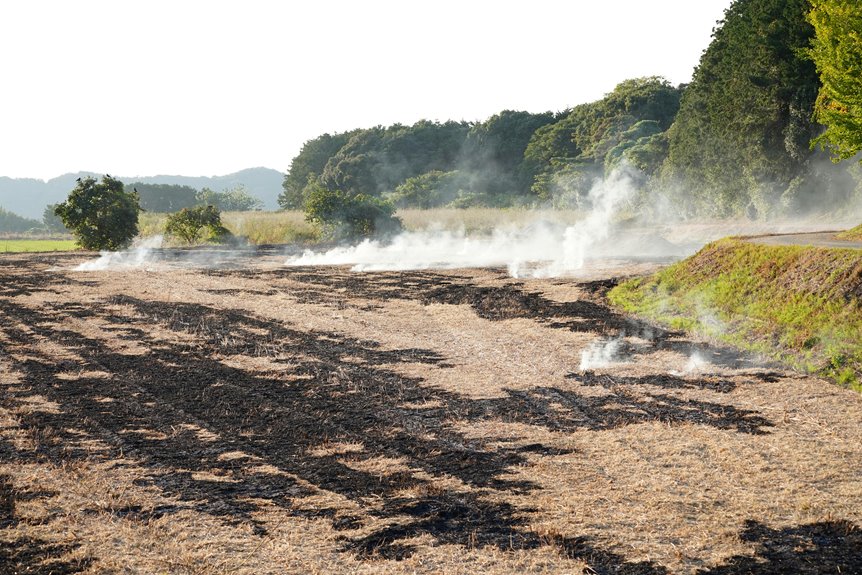
Fireplace ash provides your garden calcium and potassium—nutrients plants actually crave—plus it nudges acidic soil toward neutral, which many vegetables prefer.
I’ve found tomatoes and peppers thrive with that alkaline boost.
But here’s the catch: ash isn’t a complete fertilizer since it lacks nitrogen, and applying it indiscriminately can cause problems.
The best results come when you test your soil first, apply modest amounts, and match ash to plants that will benefit from it.
There’s much more to know about doing this right.
What Nutrients Does Fireplace Ash Contain?
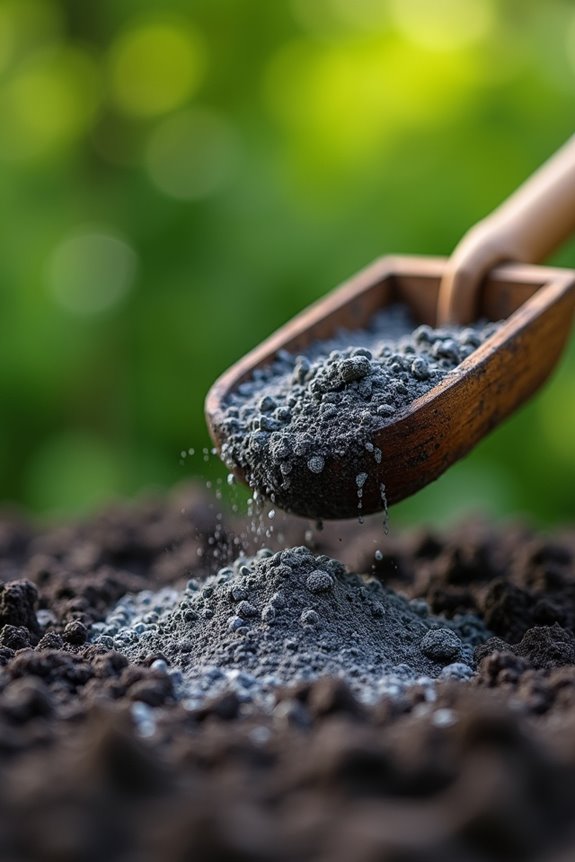
You might think fireplace ash is just burnt leftovers destined for the trash, but there’s actual chemistry happening in that gray powder. Wood ash contains real plant food. It’s loaded with potassium and calcium—the calcium content alone often hits 20% or more. You’ll also find magnesium, phosphorus, and sulfur packed in there, each typically around 2%.
Wood ash is alkaline, meaning it raises your soil pH. That’s powerful for nutrient availability. The potassium content varies depending on what wood burned and how hot it got—younger wood tends to yield more potassium, which plants require.
It’s worth noting that wood ash isn’t a complete fertilizer since it lacks nitrogen. That’s why balancing it matters, particularly based on your soil’s actual needs.
Do You Have the Right Soil for Fireplace Ash?
Before you sprinkle that ash all over your garden beds, I need to stop you right there. Not every garden needs wood ash. Here’s what I check before I even touch my fireplace ash:
- Test your soil pH first – you’re looking for around 6.5, which means your soil’s acidic and ready for help
- Avoid over-liming – stick to 10 pounds per 100 square feet yearly, or you’ll push pH dangerously high
- Skip ash if pH exceeds 7.5 – your soil’s already too alkaline
- Use only untreated wood ash – chemicals in treated wood wreck your compost and soil
I learned this the hard way. Getting a soil test takes minutes and saves months of regret. Your acidic soils might benefit from wood ash, but only if conditions are right. Think of it like medicine – you wouldn’t take it without knowing what you actually need, right?
Which Plants Actually Benefit (and Which Don’t)?
Not all plants respond well when you sprinkle wood ash around them—in fact, some actively dislike it. If you’re growing tomatoes, peppers, or eggplants, they’ll benefit from raising your soil’s pH, but acid-loving plants like blueberries, azaleas, and rhododendrons will struggle because ash makes their ideal acidic soil too alkaline. The key is matching your ash to your plants, because one gardener’s garden boost is another’s gardening problem.
Plants That Thrive
Not every plant in your garden will appreciate a generous helping of fireplace ash—and that’s where things get interesting.
I’ve learned that wood ash works best for plants that actually like higher soil pH. Here’s what thrives:
- Tomatoes, peppers, and eggplants love the alkaline boost and potassium ash provides
- Brassicas (cabbage, broccoli) tolerate slightly alkaline conditions well
- Onions and garlic benefit from the calcium for stronger root development
- Asparagus prefers alkaline-tolerant soil environments
The benefit? Wood ash delivers potassium and calcium, which strengthen roots and support general plant health. However, I can’t stress this enough: your soil pH matters significantly. If your soil’s already neutral or higher, skip the ash entirely. Adding more alkalinity actually locks up nutrients your plants need to survive.
Acid-Loving Plants Beware
What happens when you sprinkle wood ash around a blueberry bush or rhododendron? You’re actually working against yourself. These acid-loving plants prefer slightly acidic soil, but wood ash raises soil pH toward alkaline conditions—the opposite of what they need. I learned this the hard way.
When soil becomes too alkaline, acid-loving plants can’t absorb critical soil nutrients, even when they’re present. Your blueberries start struggling. Heavy ash applications get worse; they can sterilize soil in spots, killing the beneficial microorganisms these plants depend on.
Before applying any wood ash, test your soil pH first. If you’re already at pH 7 or higher, skip the ash entirely. For acid-loving plants, less ash means healthier growth.
How to Apply Fireplace Ash: Rates, Timing, and Sifting
Before you dump that pile of ash straight onto your garden beds, I’d recommend pumping the brakes—there’s actually a right way to do this.
Before you dump that pile of ash straight onto your garden beds, I’d recommend pumping the brakes—there’s actually a right way to do this.
I’ve learned that proper application matters. Here’s what I do:
- Sift first: I run my wood ash through hardware cloth or window screening (1/4 to 1/2 inch mesh) to remove chunks
- Measure carefully: I limit applications to 10 pounds per 100 square feet yearly—more isn’t better
- Time it right: I apply ash about 2 weeks before planting, never in winter when nutrients wash away
- Work it in: On bare soil, I rake or dig the ash in after spreading
Since I apply annually, I test my soil pH regularly to watch for changes. And I always skip potato areas—they really dislike it.
When to Apply: Winter Spreading or Spring Digging In
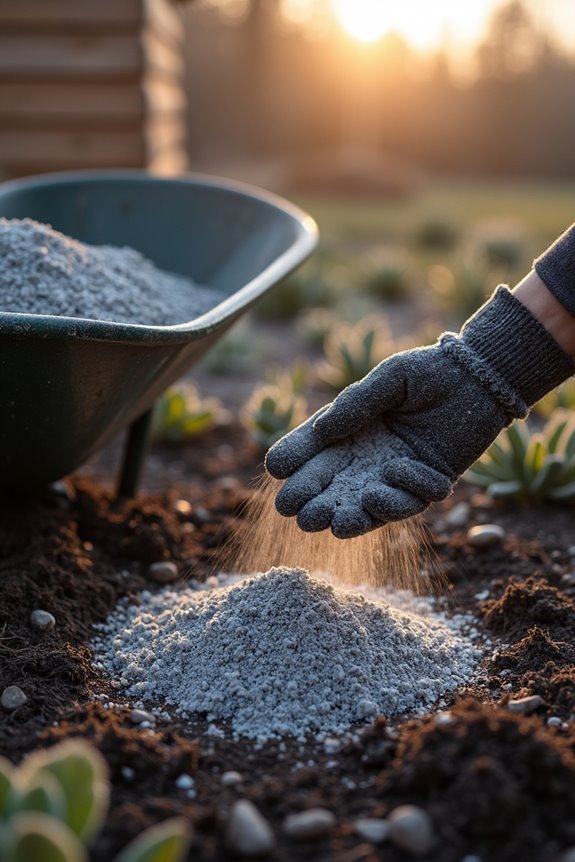
Timing your ash application makes a real difference—and honestly, I’ve learned this the hard way. You’ve got two solid windows: winter spreading or spring digging. During winter, I spread moistened ash on bare soil, then rake it in before wind carries it away. This approach works because winter moisture helps the soil amendment settle evenly. Come spring, I dig wood ash into the top 4–6 inches of soil about two weeks before planting. Why wait? It gives your soil pH time to adjust gradually. Either way, you’re working with nature’s timeline. The key? Don’t rush it. Whether you’re winter spreading or spring digging, patience means your garden gets the balanced soil amendment it needs.
Mistakes That Damage Your Garden: and How to Avoid Them
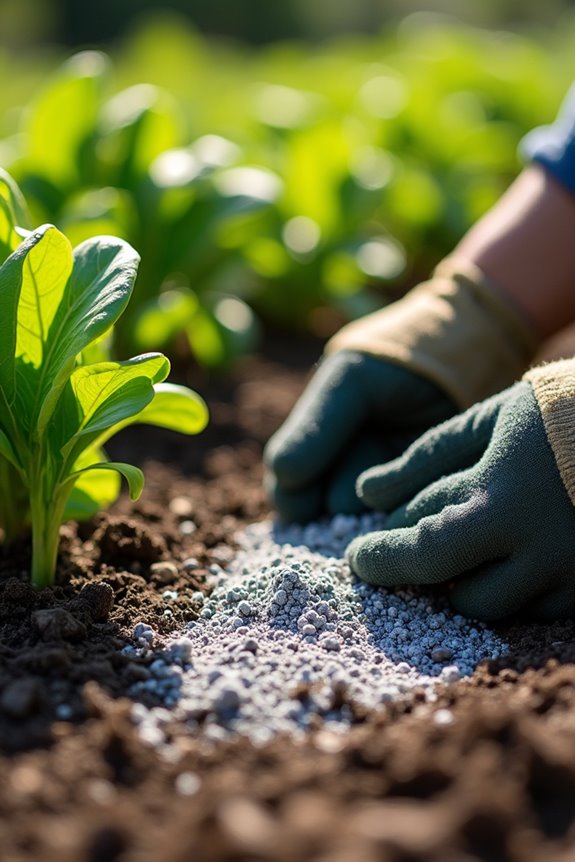
While fireplace ash can help your garden, I’ve learned the hard way that too much of a good thing can backfire—literally piling on ash or dumping it in the wrong spots can wreck your soil’s balance and even poison it. The main culprits? Spreading ash too heavily, applying it at the wrong time (like right before you plant seeds), or targeting the same area year after year without checking what your soil actually needs. Knowing where you went wrong helps you recover, so let’s break down these common mistakes and how to sidestep them.
Excessive Application Rates
Most gardeners make the same mistake I almost made: thinking that if a little ash is good, then a lot must be better. I learned the hard way that excessive application rates damage your soil and garden.
Here’s what I discovered about staying within safe limits:
- Apply no more than 10 pounds of ash per 100 square feet yearly
- Don’t exceed 15–20 pounds per 1,000 square feet annually
- Never dump ash repeatedly in the same spot
- Avoid applying ash to soil already at pH 7.5 or higher
Too much ash raises your soil’s pH excessively, making nutrients unavailable to plants. Heavy, concentrated applications can actually sterilize soil and threaten water quality. I now spread my ash thinly across my entire garden on moist soil, rotating locations each season. This approach keeps my pH balanced and my plants thriving.
Incorrect Timing And Placement
When should you actually spread that ash on your garden? I’ve learned this the hard way. Timing matters tremendously for ash application and soil conditioning success.
I now apply ash to bare soil at least two weeks before planting. This gives your soil amendment time to settle and prevents nutrient disruption. Never apply ash after planting or during warm months—you’ll damage existing roots and throw off pH management.
Winter applications? Skip them. Rain washes away valuable phosphorus and potassium before your plants can use them. I also avoid spreading ash near areas where I’ll plant potatoes next spring, since pH changes can cause issues.
Here’s my garden safety rule: distribute ash evenly across your yard. Concentrating it in one spot sterilizes soil and harms water quality. Even, thoughtful placement results in genuine soil conditioning benefits.
Better Options Than Fireplace Ash: When to Use Alternatives
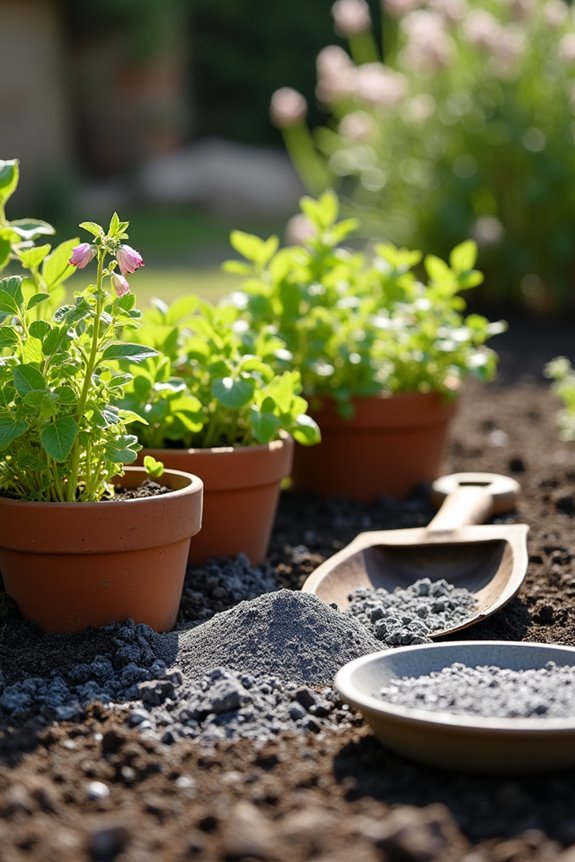
Should you dump every bucket of fireplace ash onto your garden beds? Not necessarily. I’ve learned that better options exist when you’re serious about soil health.
Better options exist when you’re serious about soil health—skip the ash bucket and choose targeted amendments instead.
Here’s what I’d reach for instead:
- Compost – Feeds your soil with nitrogen and micronutrients ash can’t provide
- Well-rotted manure – Builds soil structure while adding fertility
- Lime substitutes (aglime) – Designed specifically for pH adjustment with consistent results
- Soil testing first – Reveals exactly what your garden needs before adding anything
The real difference? Getting a soil test. Once you know your pH and nutrient levels, you can choose targeted soil amendments instead of guessing with ash. Compost and purpose-built lime products deliver predictable results without the contamination risks. Your garden benefits from precision, not crossed fingers.