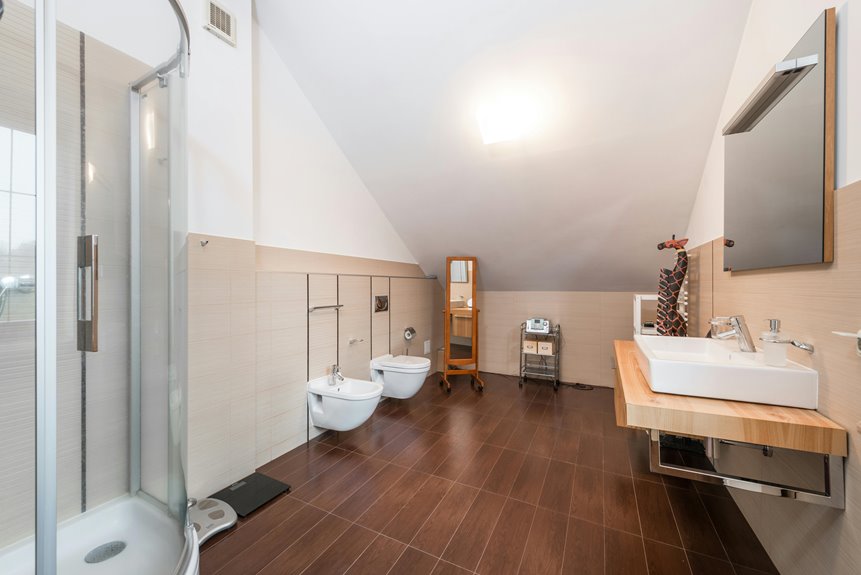
No, don’t vent your bathroom fan to your attic—I know it seems like an easier shortcut, but it’s basically inviting moisture damage into your home.
When humid bathroom air gets trapped up there, it condenses on cold surfaces, creating the perfect breeding ground for mold and wood rot.
Your insulation loses effectiveness, your roof deck deteriorates quietly, and suddenly you’re facing expensive repairs nobody noticed until it’s too late.
Exterior venting through your roof or wall keeps that moisture outside where it belongs.
Want to know exactly how to fix this problem?
The Short Answer: No, Don’t Vent to Your Attic
Why would you send all that steamy bathroom air straight into your attic? I’ll tell you why you shouldn’t. When your bathroom exhaust vents into your attic instead of outside, moisture gets trapped where it shouldn’t be. That dampness condenses on roof sheathing and insulation, creating the perfect environment for mold to grow. Wood rot follows close behind, and suddenly you’re looking at expensive structural damage. Even if your attic has its own venting, it won’t solve the problem. The moisture just sits there, festering. Codes and building experts agree: attic venting simply doesn’t work. Your bathroom exhaust needs a direct path outside—through your roof or exterior wall—with a proper vent cap. That’s the only way to keep moisture out of your home’s bones where it can cause real trouble.
Why Attic Venting Traps Moisture and Causes Damage
The problem with dumping bathroom exhaust into your attic is straightforward: moist air gets stuck where it has nowhere to go. When you run your shower, that humid air travels through your ductwork and settles in your attic instead of leaving your home. Here’s what happens next: moisture condenses on cold roof sheathing and insulation, creating the perfect breeding ground for mold. You’re building a moisture trap that damages your roof’s structural integrity over time.
In cold climates, frost forms on surfaces, accelerating wood rot and reducing your roof’s lifespan. Attic venting doesn’t actually pull moisture from your living spaces—it just pushes humidity toward ceiling joints and interior walls. The result? Your insulation loses effectiveness while mold spreads quietly overhead. That’s why proper exterior venting matters for your home’s health.
How Mold, Rot, and Structural Problems Develop From Attic Venting
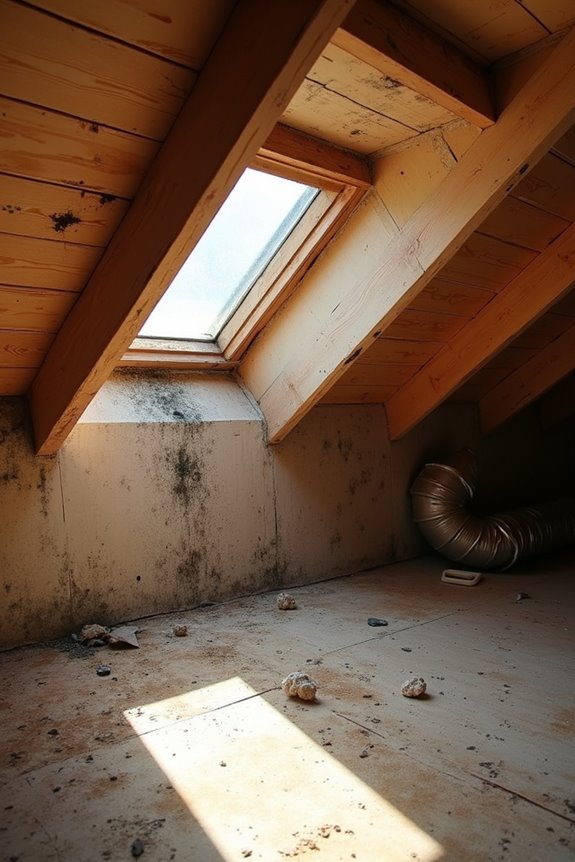
When you vent moist bathroom air into your attic, you’re creating a moisture problem that feeds three destructive issues: condensation forms on cold surfaces like roof sheathing and insulation, mold spores settle in and multiply on those damp materials, and wood gradually rots as moisture seeps into beams and decking. I’ve seen attics where homeowners thought everything was fine until real damage appeared—soggy insulation that’s lost its R-value, dark mold patches spreading across rafters, and soft spots in the roof deck that signal serious structural trouble. The challenge is how quietly this happens; the damage hides behind insulation and soffits until repairs become expensive.
Moisture Accumulation And Condensation
Because bathroom fans pull moisture-laden air straight into your attic instead of outside, you’re fundamentally creating a humidity trap that nature will inevitably turn against you. When that bathroom exhaust enters your attic, the warm, wet air meets cold roof surfaces and becomes condensation—your attic accumulates moisture.
Here’s what happens next:
- Moisture settles on insulation, reducing its ability to keep your home warm
- Frost forms during winter, then melts into damp spots when temperatures rise
- Wood framing absorbs this moisture and begins rotting from the inside out
- Mold colonies flourish in these damp conditions, spreading silently
This attic moisture doesn’t stay trapped forever. It seeps back into your living spaces, affecting air quality. Exterior venting eliminates this problem by moving that humid air outside where it belongs.
Mold Growth On Structural Materials
How quickly does mold colonize a damp attic? Faster than you’d think. When you vent bathroom exhaust into your attic, you’re creating a mold buffet. The moisture settles on wood framing and roof sheathing, giving mold spores exactly what they need to thrive. I’ve seen attic moisture discolor clean wood into fuzzy surfaces within months. Once mold establishes itself, it spreads aggressively. It feeds on the wood fibers, weakening structural beams and joists. Your attic becomes vulnerable. The real problem? Mold growth doesn’t stay put. It migrates into living spaces through gaps and cracks, potentially affecting your family’s health. Proper exterior venting eliminates this risk, keeping your attic dry and your home’s structural integrity intact.
Wood Rot And Insulation Damage
Mold’s damage doesn’t stop at surface discoloration—it’s just getting started. When you vent your bathroom fan into the attic, you’re creating a moisture problem that spreads rapidly through your home’s structural components.
Here’s what happens next:
- Insulation becomes waterlogged, losing its ability to regulate temperature in your home
- Wood framing absorbs moisture, setting the stage for rot that weakens structural integrity
- Roof sheathing deteriorates silently, often undetected until catastrophic failure occurs
- Hidden damage accumulates, making repairs exponentially more expensive down the road
That saturated insulation? It won’t function properly. The moisture settles into attic spaces where you can’t see it happening. Wood rot develops slowly but relentlessly. By the time you notice leaks or sagging ceilings, you’re looking at tens of thousands in repairs. Venting outside directly prevents this problem entirely.
The Hidden Risks of Improper Bathroom Fan Venting
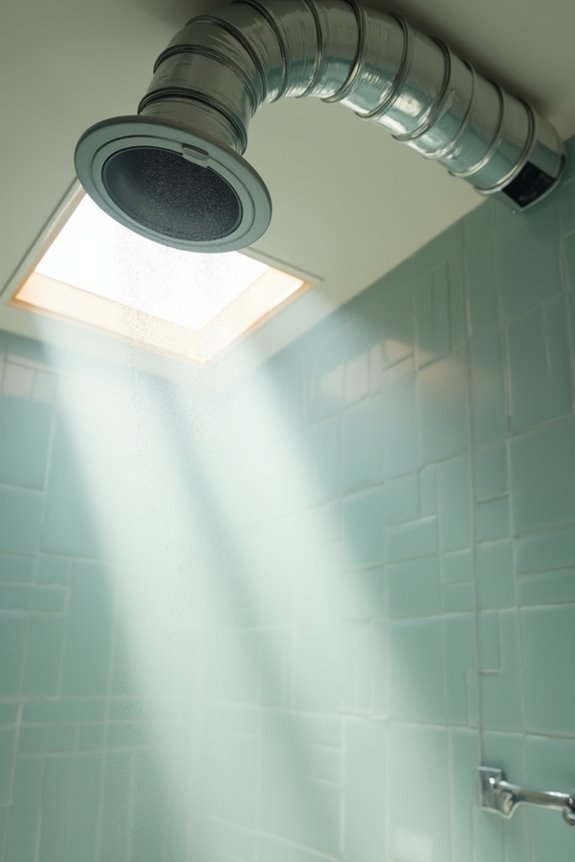
Why do so many homeowners still vent their bathroom fans directly into the attic? It’s tempting—the path seems easier. But here’s what actually happens: moisture buildup collects on your roof decking and insulation, creating the perfect environment for mold and rot. Even worse, attic venting can leak that moisture right back into your living spaces, causing ceiling stains and structural damage over time.
Long ductwork running through your attic reduces ventilation effectiveness. Without proper exterior venting through a roof or wall, moisture doesn’t escape—it lingers and condenses. This is a serious issue; experts confirm that attic venting creates significant problems regardless of existing attic ventilation.
The solution? Route your ducts outside with sealed connections and exterior vent caps. Your home’s longevity depends on it.
Why Combining Multiple Bathroom Vents Into One Duct Fails
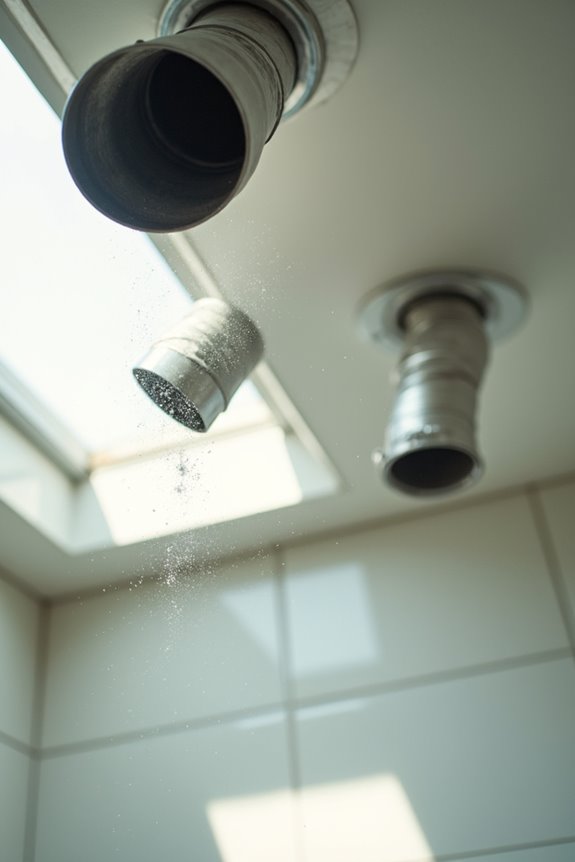
Ever notice how sharing one bathroom fan duct between two or three bathrooms sounds efficient on paper? I’ve learned it’s actually a recipe for disaster.
When you combine vents into a single duct, you’re inviting serious problems:
- Backdrafts happen – Dampers in one vent block airflow to the others, preventing proper exhaust
- Moisture travels between bathrooms – Humidity and odors from one space leak into another, degrading your air quality
- Airflow gets undersized – Each vent gets insufficient power, leaving condensation and dampness behind
- Maintenance becomes a nightmare – You can’t easily clean shared ducts, so mold and blockages pile up
Rather than venting to your attic (which traps moisture there), I’d recommend giving each bathroom its own dedicated exterior duct. Building codes exist for this reason. Your home’s health depends on it.
Proper Bathroom Fan Venting: Your Only Safe Option
Now that you know why combining vents spells trouble, let’s talk about what actually works. Your bathroom exhaust needs to exit your home entirely through exterior termination—meaning through a wall or roof to the outside. Moisture that vents into your attic causes condensation on wood, insulation, and roof sheathing. That leads to mold, rot, and structural damage.
The right setup is straightforward. Run your ductwork directly outside with short, airtight joints. Install a vent cap that controls airflow. Skip attic venting altogether. Yes, attic venting exists for roof health, but that’s separate from your bathroom exhaust. Both need independent paths outside. This approach protects your home’s structure and keeps your family healthier.
Roof Vents vs. Wall Vents: Choosing the Right Exit Route for Your Home
When deciding where your bathroom fan should exit your home, you have two main options: roof vents and wall vents, each with their own advantages depending on your specific situation. Roof vents work well if you have a steep pitch and good airflow, but you need to consider whether your climate experiences heavy snow or rain that could damage the vent cap. Wall vents may be simpler to install and less prone to leaking, though you should position them carefully to prevent moisture from entering your attic or soffit areas.
Roof Penetration Advantages
Where should your bathroom exhaust actually go? I’ll tell you—straight through your roof. Here’s why a roof vent beats other options for moisture control:
- Direct outside exit – Your damp air leaves immediately, preventing it from lingering in your attic
- Minimal moisture buildup – Unlike wall vents that can recirculate air back into joist cavities, roof vents eliminate this problem entirely
- Better backdraft prevention – You won’t deal with air pushing into unwanted spaces when conditions shift
- Reliable discharge – A proper roof vent with flashing and a cap keeps water out while letting moisture escape
When you’re planning attic venting, choose roof penetration. Yes, installation takes effort. But you’re investing in a system that actually works—one that protects your home while keeping moisture where it belongs: outside.
Wall Vent Installation Considerations
What if I told you there’s a simpler way to route your bathroom exhaust—one that doesn’t require cutting through your roof?
Wall vent installation offers a straightforward alternative. Instead of navigating attic space, you’re directing bathroom exhaust straight through an exterior wall. This means shorter ductwork runs, better airflow, and fewer opportunities for leaks to develop.
Here’s what makes it practical: you’re avoiding attic moisture buildup entirely. That humid air never touches your roof cavity, which dramatically reduces condensation and mold risks. Think of it as the direct route versus the longer path.
The key? Proper placement matters. You’ll want your wall vent terminating above ground level, away from windows and air intakes. A quality vent cap seals everything tight, keeping weather out while letting moisture escape exactly where it belongs—outside your home.
Climate And Location Factors
Wall vents offer a direct escape route, but where you live changes the picture. Your climate impacts whether attic venting becomes problematic for your home.
Consider these climate factors:
1) Cold climates worsen attic moisture issues—warm, humid bathroom air hits cold roof decks and condenses into water
2) Hot, dry regions may handle attic venting better, though exterior termination remains safer
3) Humid coastal areas demand exterior termination to prevent mold and rot
4) Mixed climates benefit most from roof or wall vents over attic dumping
Cold-climate homes particularly struggle. When you vent into your attic during winter, that moisture freezes on framing. Come spring, it melts and causes rot you won’t notice until damage spreads.
Exterior termination works best for your climate impact concerns. It’s the dependable choice most building codes actually prefer anyway.
Install Your Exterior Vent Cap to Stop Backdraft and Pests
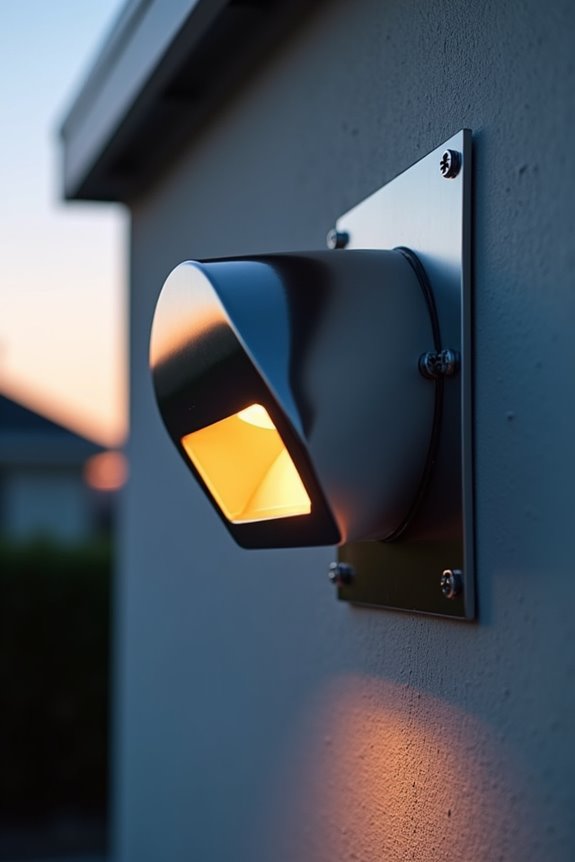
Because bathroom moisture needs somewhere to go, your exhaust vent’s exterior vent cap is doing considerable work you might not even notice. Installing a proper cap stops backdraft—that annoying moment when outside air rushes back into your bathroom. A backdraft damper inside the cap prevents this reverse airflow while blocking pests from entering your ductwork. Without one, you’re basically rolling out a welcome mat for insects and rodents. The cap needs airtight seals and foil tape on all joints to work effectively. This simple investment protects your home from moisture damage and unwanted visitors. Skip attic venting entirely—route that duct directly outside through your roof or wall instead. Your attic will benefit from this approach.
Insulated Ducts: Your Best Defense Against Condensation
I’ve learned the hard way that uninsulated ducts are basically highways for moisture problems—warm, humid air from your bathroom hits cold ductwork and condenses like morning dew on a car window, potentially damaging your attic and walls. That’s why I now insist on using insulated ducts with at least an R-value of 6, which keeps the air temperature stable enough to prevent that condensation from forming in the first place. Getting this detail right early saves you from costly repairs and mold problems down the road.
Condensation Prevention With Insulation
What’s the difference between a bathroom exhaust duct that works well and one that turns your attic into a moisture problem? Insulation. I’m talking about insulated ducts with at least an R-value of 6—they’re an effective tool against condensation when venting attic moisture.
Here’s why insulation matters:
- Maintains warm air temperature so moisture won’t freeze on duct surfaces
- Reduces condensation buildup inside ductwork by protecting against temperature shock
- Prevents warm, moist air from touching cooler attic surfaces where problems start
- Keeps insulation properly fitted without compression all the way to your roof vent
Proper sealing with foil duct tape at every joint stops moisture leaks. Continuous, unobstructed duct runs work alongside insulation to keep moisture moving outside. I’ve seen what happens without these safeguards—it’s not pretty. You’ll want to skip that disaster.
R-Value Requirements And Standards
How much insulation do you actually need in your bathroom exhaust duct? I’ll be honest—this question stumped me too. The answer is straightforward: aim for a minimum R-value of 6. That number matters because it keeps warm air from escaping through your ducts, which prevents condensation from forming on cold surfaces inside.
Think of R-value like a blanket’s thickness. The higher it is, the better your insulation works. R-6 gives you solid protection without overdoing it. When you’re shopping for insulated ducts, check that label carefully. Make sure the insulation extends all the way to your roof vent—no shortcuts. Compressed insulation at joints loses its effectiveness, so keep those connections snug and sealed with foil tape.
Fixing Existing Attic Vents: A Retrofit Strategy
If your bathroom fan currently dumps moisture straight into your attic, you’re basically creating a slow-motion water damage problem—and the good news is that you can fix it. A solid retrofit strategy tackles this head-on by rerouting your bathroom exhaust outside permanently.
Here’s what you’ll want to address:
Tackle moisture damage head-on by rerouting bathroom exhaust outside, sealing connections, installing backdraft dampers, and inspecting attic venting.
- Install a dedicated duct running directly from your bathroom fan to an exterior wall or roof vent
- Use foil tape to seal all connections and prevent air leaks along the way
- Add a backdraft damper so moist air can’t sneak back inside
- Inspect and replace any nonfunctional louvers blocking your attic venting system
This approach stops moisture from pooling in your attic where it breeds mold. You’re investing in your home’s health, not just fixing a vent.
Finding the Right Pro to Install Your Bathroom Vent
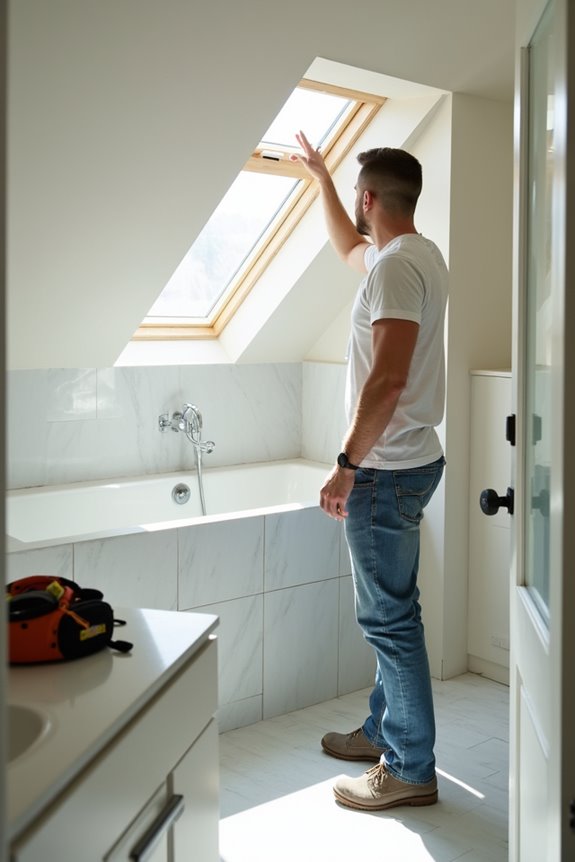
When you’re ready to stop your bathroom fan from quietly destroying your attic, you’ll need someone who actually knows what they’re doing. I’d recommend finding an HVAC or roofing specialist who understands proper bathroom venting. They’ll confirm your exterior vent terminates through your roof or wall—not hidden in your attic.
| What to Check | Why It Matters | Red Flags |
|---|---|---|
| Airtight ductwork | Prevents moisture leaks | Loose connections, no tape |
| Short, direct ducts | Reduces condensation buildup | Long, winding runs |
| Proper vent cap | Stops rain and pests | Missing or damaged cap |
Ask your pro about their experience with retrofits. They’ll assess existing ductwork, give cost estimates, and keep your new setup separate from other vents. That’s how you protect your home and make a smart investment.