
I’ll walk you through measuring curtains the right way. First, decide if you’re hanging inside or outside your window frame—this changes everything. Then measure your window width and figure out how far your rod extends beyond it. Next, pick your header style and fullness ratio, which determines how full your curtains look. Measure from your rod down to where you want them to end, accounting for breaks or puddles. Finally, watch out for common mistakes like forgetting the fullness multiplier. Stick around to discover the specific measurements that’ll make your curtains hang perfectly.
Step 1: Choose Your Rod Placement, Frame Type, and Panel Layout

Before you measure a single inch, you’ll need to make some decisions about how your curtains will actually hang. I’m talking about rod placement, frame type, and panel layout—the foundational choices that shape your entire measurement strategy.
First, I decide whether I’m mounting inside or outside my window frame. An inside-frame installation keeps things neat, while outside-frame mounting adds 3–6 inches beyond each side, creating a larger appearance. Next, I pick my rod placement. Hanging it 6–12 inches above the window frame makes my space feel taller and lets more light flood in.
Then comes panel layout: am I going with a single panel or split panels? This choice directly affects my curtain width and how fullness distributes. Finally, I consider my heading style—pleated, grommet, or soft top—since each demands different fullness measurements. These decisions come first because they drive every calculation that follows.
Step 2: Measure Window Width and Calculate Rod Length
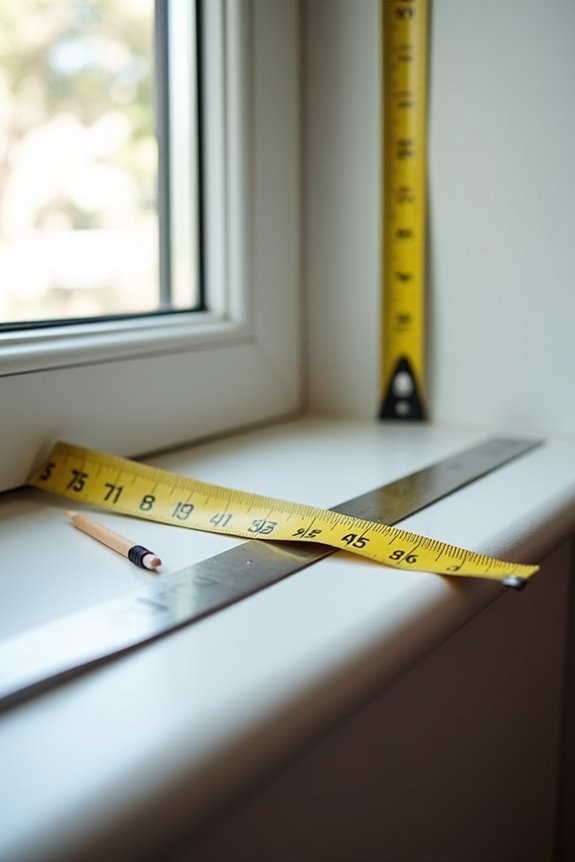
Now here’s where the measuring actually begins—and honestly, this step sets up everything else. I’ll grab my measuring tape and find the window width from one outer edge of the frame to the other. This gives me my baseline number. Next, I calculate my rod length based on my frame choice. For outside-frame installations, I extend the rod 3–6 inches beyond each side. If I’m maximizing light, I’ll push it to 6–15 inches on each side instead.
Then comes curtain width planning. I multiply my window width by 1.5–3 times depending on fullness ratio and fabric style. Finally, I jot everything down on my notepad. This prevents mistakes when purchasing.
| Measurement Type | Purpose |
|---|---|
| Window width | Baseline for calculations |
| Rod length | Frame extension decision |
| Curtain width | Fullness planning |
| Outside-frame extension | Light maximization |
| Total rod length | Purchase guide |
Step 3: Select Your Header Style and Fullness Ratio
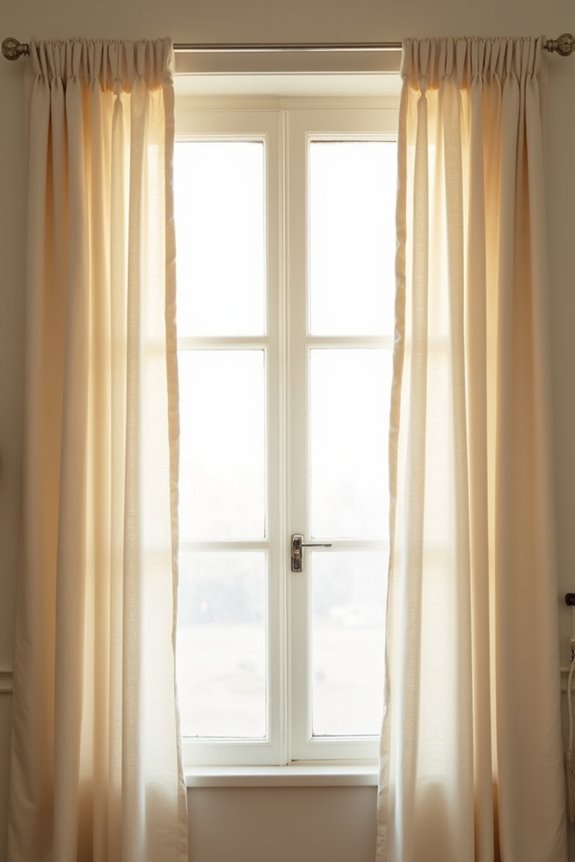
What makes your curtains look professionally styled versus hanging like a sad bedsheet? Your header style and fullness ratio.
Here are your choices:
- Soft Top headers need 160–200% fullness for beautiful drapes that gather naturally
- Pleated headers create structured elegance using 1.6x fullness, perfect for straight rods
- Grommet headers deliver modern appeal and require greater fullness to drape well
- Style selection depends on your rod length and panel quantity
The math: divide your rod length by panel quantity for pleated styles. For Soft Top or Grommet, multiply your total length by 200% fullness, then divide by panel quantity.
Your drapery headers matter. Choose the right one, and you’ll achieve polished results.
Step 4: Measure Finished Length and Account for Hem/Break
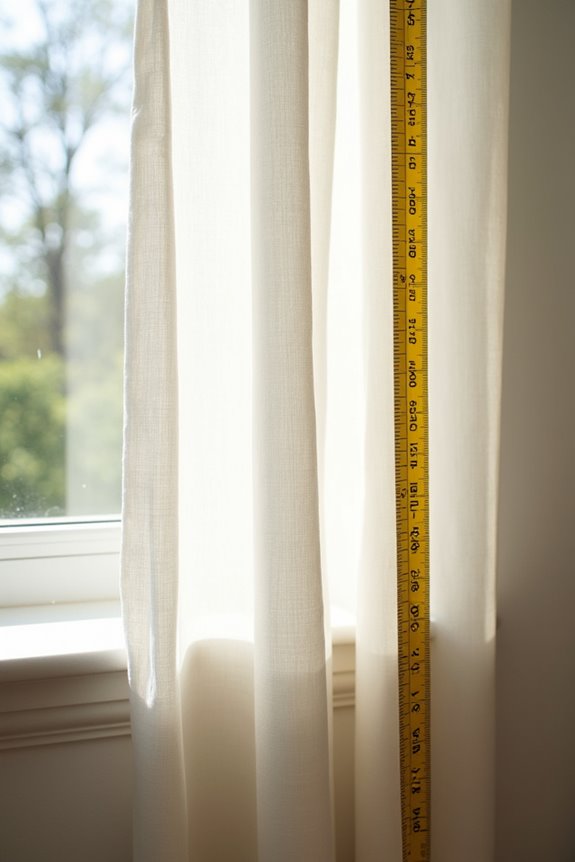
You’ve nailed your header style and fullness ratio, so your curtains will gather beautifully—but they won’t look polished if they’re the wrong length.
Here’s where measuring from rod to floor matters most. I start by positioning my measuring tape at the rod placement and stretching it down to see exactly where my curtains will end. The goal? Create that intentional, finished look rather than accidentally gapping at the floor.
| Look Style | Measurement | Effect |
|---|---|---|
| Floor-length | 0.4 inches above floor | Clean, modern |
| Puddle effect | 2–4 inches past floor | Dramatic, luxe |
| Break | 1–2 inches above | Balanced |
Always measure from rod at multiple window points—floors aren’t always level. Your hem height depends on your chosen break style. Getting this right affects your entire window’s appearance.
Step 5: Avoid These Common Measurement Mistakes
Why do so many curtain projects end up looking off, even when you’ve followed the steps carefully? I’ve learned that small measurement mistakes compound into disappointing results. Here’s what I watch out for now:
- Measure twice, every time. One careless measurement of your window width or curtain length creates problems you’ll regret later.
- Don’t miss rod placement. Extending your rod 6–15 inches beyond the window frame on each side prevents a cramped, shortened look.
- Account for your fullness multiplier. Using 1.5–3x your window width keeps your curtains draping beautifully, not skimpily.
- Know your mounting style. Inside mount means rod length equals window width. Outside mount requires adding 3–6 inches per side.
Getting your desired hang point right matters too. Measure from the rod to where you want panels ending—floor, sill, or somewhere between. That’s measurement accuracy worth noting.