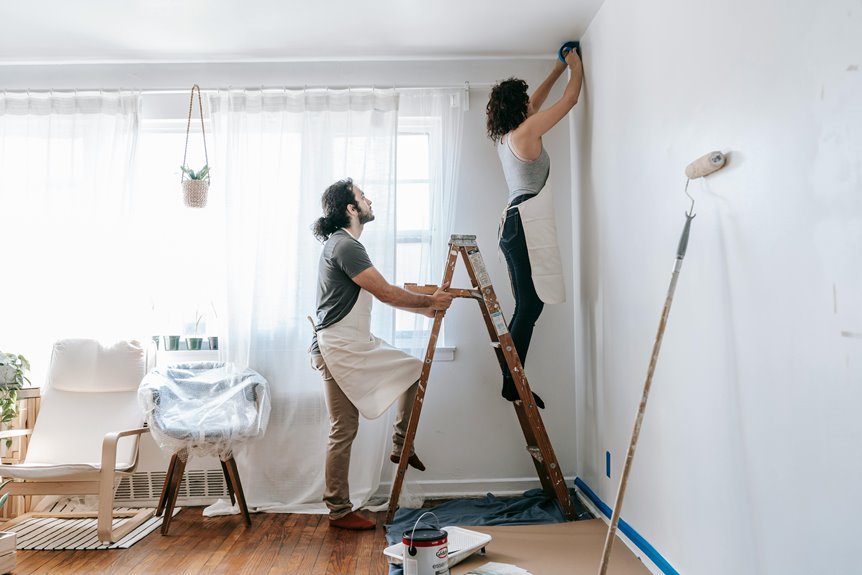
Hanging curtains isn’t as intimidating as it seems. You’ll start by measuring your windows and gathering tools like a level and stud finder. Position your rod high and wide—about two-thirds up the wall—to make your room feel bigger. Choose a length that matches your style, install brackets securely into studs, then hang your panels. Finally, dress them into neat folds for a polished look. Follow these seven steps, and your windows will go from ordinary to stylish. Ready to get started?
Gather Tools and Measure Before Hanging Curtains

Before you even think about drilling holes in your walls, have you gathered everything you’ll need? I learned this lesson the hard way. Grab a tape measure, level, drill, Phillips screwdriver, wall anchors, and a stud finder. You’ll want these on hand.
Now comes the practical part: measurement. For window width, measure the entire window including trim, then add 8–10 inches on each side. This determines your curtain rod length and creates a full, polished look.
For mounting height, measure from ceiling to floor, then position the rod between halfway and two-thirds up toward the ceiling. Extending the rod 6–10 inches beyond each side maximizes light and makes windows appear wider.
Always use your level to mark precise mounting points, checking for studs with your stud finder first. If studs aren’t available, quality wall anchors will work well.
Position Your Rod High and Wide to Enlarge the Window and Room
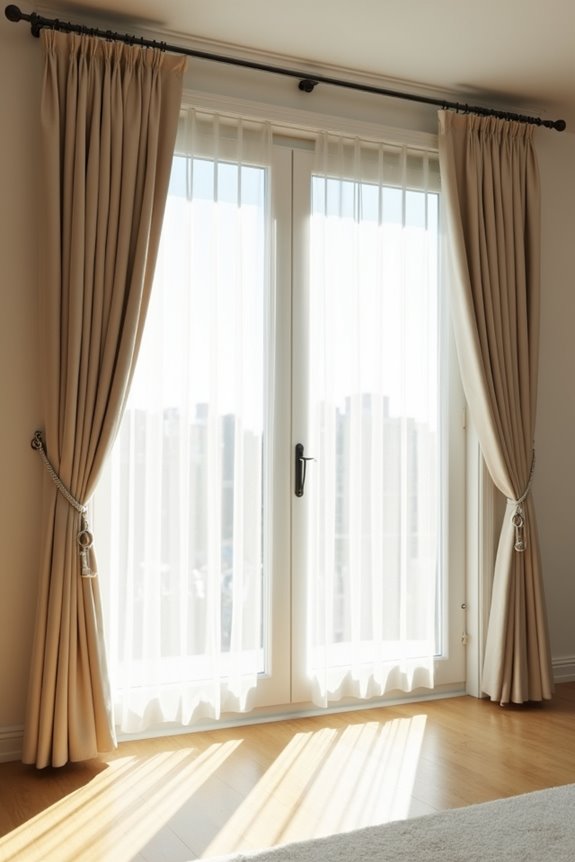
Why does hanging a curtain rod higher make a room feel bigger? When I position my curtain rod at the right height, I’m creating a ceiling height illusion by aiming for roughly two-thirds up toward the ceiling.
Extending the rod 6–10 inches beyond each side of the window works well too. A wide rod prevents my curtains from bunching awkwardly and lets them clear the glass when I open them.
The result happens when I secure everything properly into studs or use appropriate anchors. My window treatment stays stable and looks deliberate. These drapery hardware placement choices affect not just my windows, but how spacious my entire room feels. It’s one of those simple adjustments that produces real benefits.
Choose Curtain Length for Your Desired Visual Effect
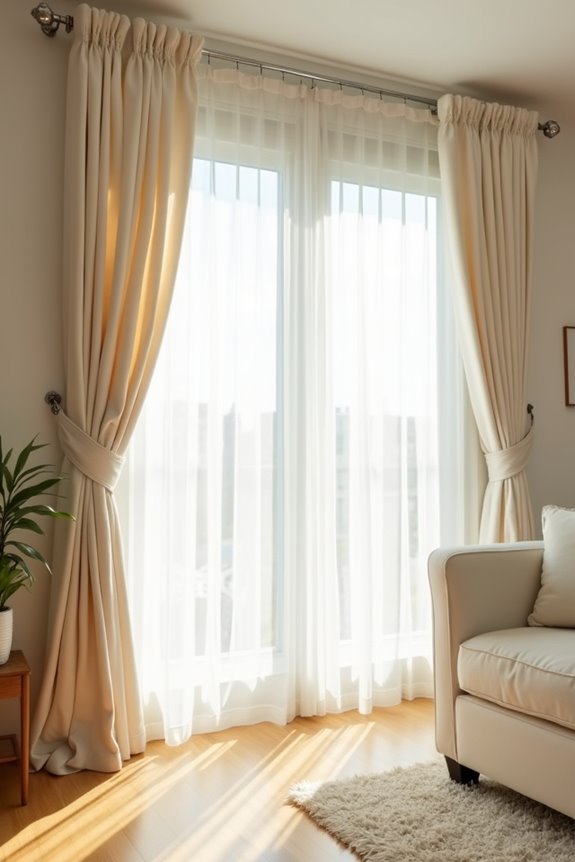
I’ve made plenty of curtain-length mistakes myself—like hanging panels that stopped awkwardly mid-wall, which somehow made my whole room feel shorter and cramped. The good news is that I can avoid this by choosing from three floor-length options: Slight Float (less than an inch above the floor), Kiss (barely touching), or Puddle (3–6 inches of extra fabric pooling down). Once I pick my style and grab quality fabric like linen or velvet, I’ll measure from my rod to the floor, then adjust my length choice to match the visual effect I want.
Common Length Mistakes
How many of us have hung curtains only to realize they look weirdly short? I’ve been there. The most common mistake is choosing curtain lengths that don’t reach the floor. An 84-inch curtain seems standard until you measure your ceiling height and discover it leaves awkward gaps.
Here’s what I’ve learned: measurement accuracy matters. Measure from your rod to the floor precisely, then decide your style. Do you want Slight Float hovering less than an inch above? The Kiss option barely touching? Or Puddle creating that luxurious 3–6 inch pool?
For 8-foot ceilings, 95-inch curtains often prove too long, requiring hemming to around 90 inches. Floor-length curtains improve your window and wall appearance. Skip the short look—aim for the floor every time.
Three Floor-Length Options
Once you’ve nailed your measurement, you get to pick how your curtains actually sit on the floor—and yes, this choice matters. Your floor-length options determine whether your space feels casual or formal, so let’s break down what works.
| Option | Look | Best For | How It Works |
|---|---|---|---|
| Floating Length | Barely-there, modern | Contemporary homes | Hovers less than an inch above floor |
| Kiss Length | Clean, intentional | Most rooms | Just barely touches floor surface |
| Puddle Length | Luxurious, dramatic | Formal spaces | Pools 3–6 inches on floor |
I recommend buying 95 inch curtains instead of standard 84 inch ones—they give you flexibility. Hemming longer panels lets you experiment. Need floating? Hem to 83 inches. Want puddle? Keep that extra fabric. You’re basically getting multiple looks from one purchase.
Fabric and Style Selection
Now that you’ve picked your floor length, it’s time to choose the fabric and style—because the right material affects your entire look.
I’ve learned that picking ready-made curtains saves me serious time and stress. You’ll find everything from luxe linen blends to blackout options at stores like Pottery Barn and IKEA. Here’s what I focus on:
- Fabric weight – Heavier linen drapes beautifully; lighter fabrics need more fullness to avoid looking skimpy
- Light control – Blackout panels block everything; light-filtering linen lets glow through while keeping privacy
- Panel width – I use double-wide panels on big windows, aiming for total width that’s 1.5 to 3 times my window width
This balance gives your room a polished appearance.
Plan Bracket Placement Based on Rod Width and System Type
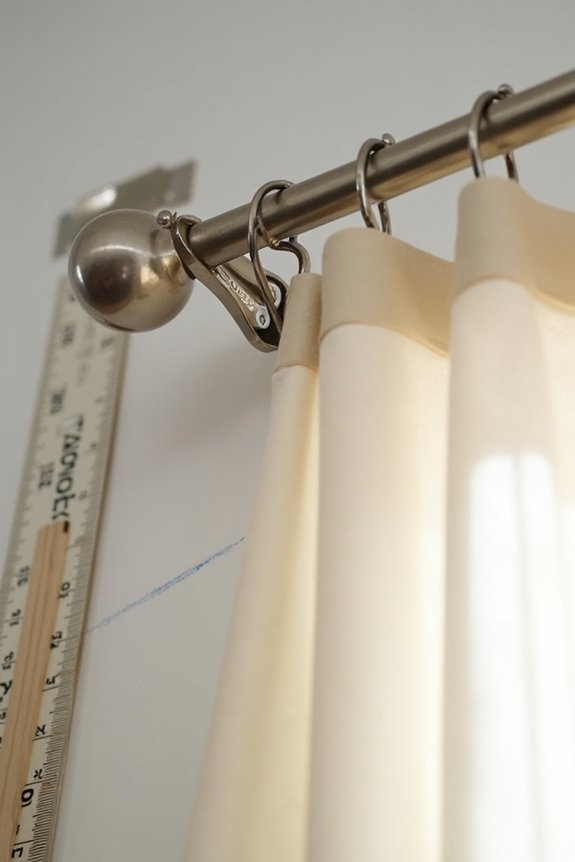
Where you place your brackets affects your curtain installation—get this wrong, and your curtains will sag.
Bracket placement is critical to curtain installation—improper positioning leads to sagging and a poor finished look.
Your bracket placement depends on your rod width and system type. For track systems, a single bracket works for widths up to 36 inches, while double brackets handle 36–60 inches. Rod and ring systems need single brackets for 24–72 inches and double brackets beyond that.
Position end brackets 4–6 inches from each window edge. Install them into studs when possible for maximum strength. Can’t hit studs? Use drywall anchors rated for your combined hardware and fabric weight.
Use a level to keep everything aligned. Space center brackets evenly along your rod’s length. This prevents sagging and creates a polished appearance.
Install Brackets: Into Studs or Drywall, Depending on Your Walls
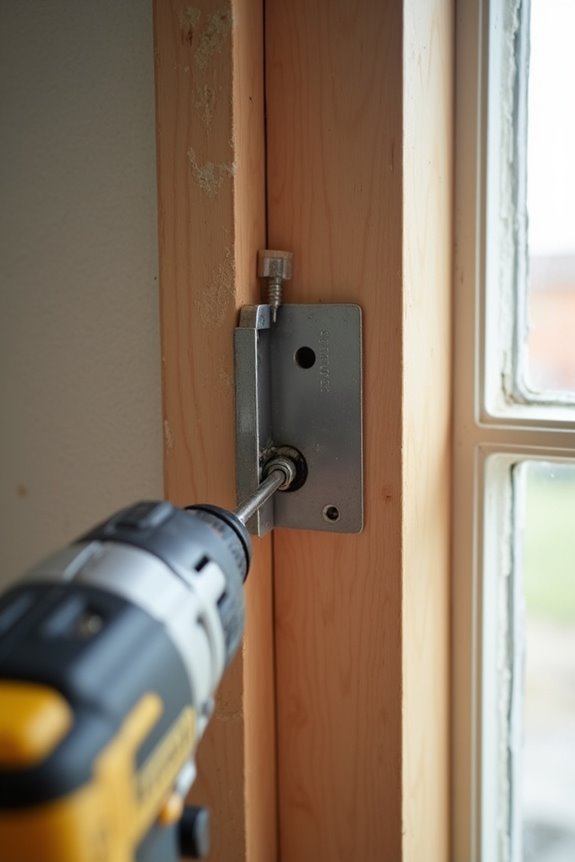
Two things determine whether your curtains stay put or slowly creep downward like a sad puppy: where you drill and what you drill into.
I’ve learned this the hard way. Here’s what actually works:
- Find studs first—they’re your best friends. Use a stud finder to locate them, then install your curtain rod brackets directly into these wooden supports for maximum holding power.
- Use drywall anchors if studs aren’t available—choose anchors rated for your combined hardware and fabric weight. Drill pilot holes slightly smaller than the anchors, tap them flush, then secure your brackets.
- Always grab your level—mark bracket placement straight, check both ends match, and verify your mounting height is even.
Take your time here. A secure fit now means your curtains won’t betray you later.
Hang Curtains on Your Track or Rod System

Once your brackets are secure, the fun part begins—actually getting those curtains up. Now comes the real part: hanging your window treatment on the track system or curtain rod.
Once your brackets are secure, the fun part begins—actually getting those curtains up on the track system or rod.
If you’re using a track system, I snap the drapery carriers directly into place—it’s satisfying and quick. For rod systems, I insert drapery pins into the hooks. Either way, you’re anchoring your panels securely.
Next, I extend the rod or track about 6–10 inches beyond each side of the window. This lets light flood in when I open the curtains and makes the whole window look wider.
Finally, I space the panels evenly, then dress them with gentle folds for that polished, columnar look. A light pull shapes everything perfectly. Your window treatment’s now complete.
Dress and Style Your Curtains
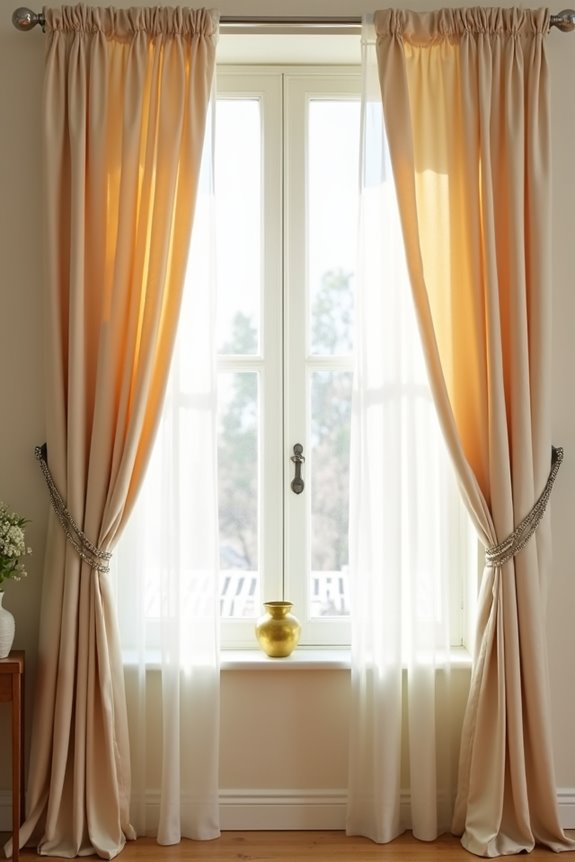
Now that your curtains are hanging, it’s time to make them look intentional—not like you just tossed fabric over a rod and called it a day. Properly styled panels create the flowing folds you want.
- Arrange even folds by gently gathering the fabric and guiding it down natural creases from top to bottom
- Let fabric memory work by allowing 48–72 hours for your drapery to settle into neat columns
- Create fullness and light balance by extending your rod 6–10 inches beyond each window side and positioning it 1/2 to 2/3 up toward the ceiling
After hanging, fluff and adjust spacing between your curtain panels. This styling turns ordinary fabric into quality drapery that frames your windows beautifully. Patience pays off here—allow the process to work.